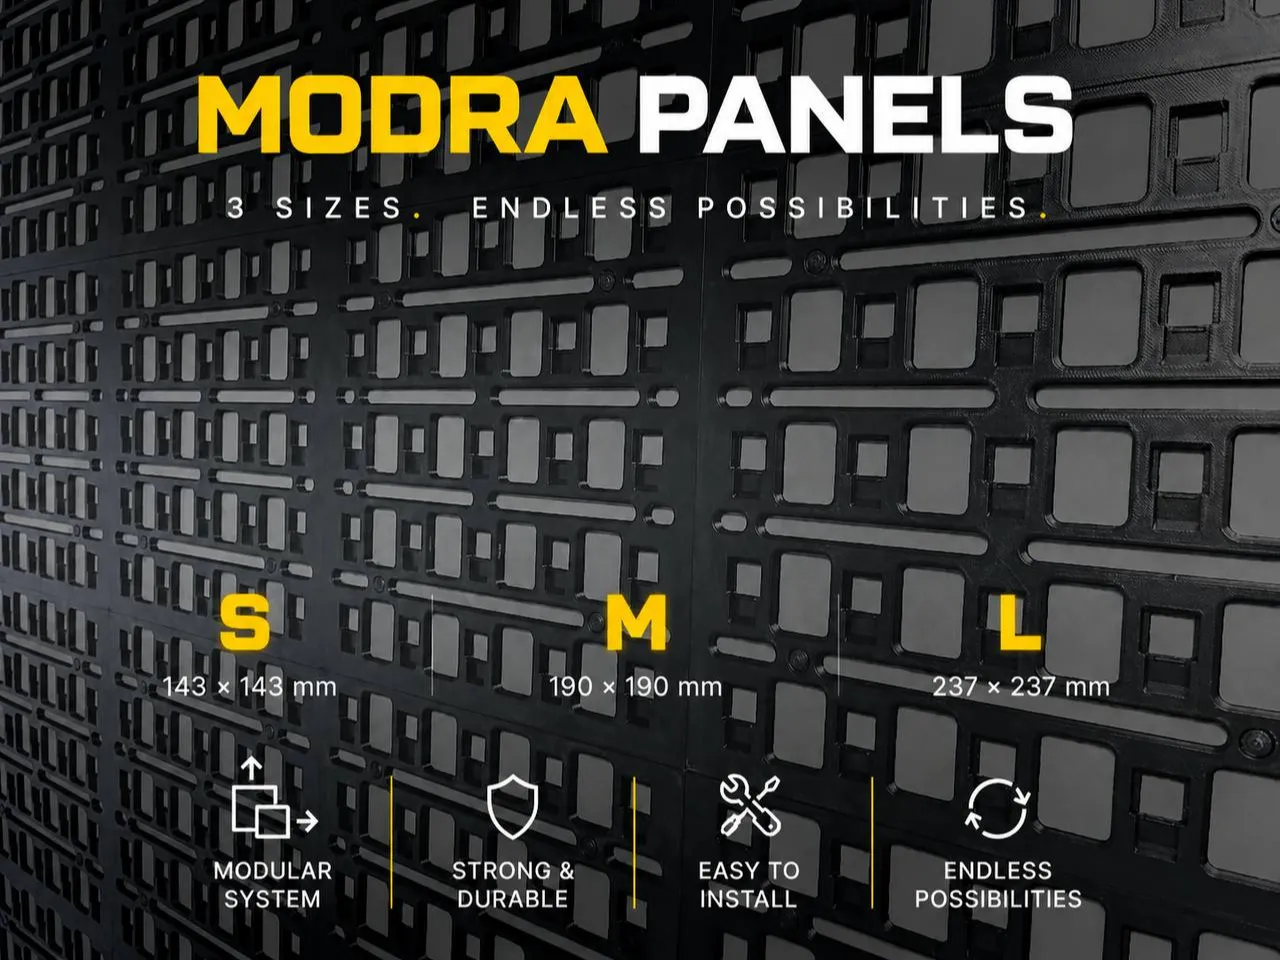
MODRA Panels are the core of the MODRA Modular System. Strong snap-lock interface. Print one panel or combine multiple panels to build your own layout. Features Integrated snap-lock system Clean front surface 4 mounting holes Designed for direct wall mounting Compatible with all MODRA accessories Accessories slide into place with a light click and stay securely locked. To remove an accessory, lift it upward with moderate force. Versions Available MODRA Panel L 237 × 237 mm | 5 × 5 locks Weight: ~100 g PLA: 19% PETG: 15% Flow ratio: 0.98 No supports Sparse infill pattern: Rectilinear MODRA Panel L Reinforced 237 × 237 mm | 5 × 5 locks Weight: ~150 g PLA: 30% PETG: 35% Flow ratio: 0.98 No supports Sparse infill pattern: Rectilinear MODRA Panel M 190 × 190 mm | 4 × 4 locks Weight: ~67 g PLA: 19% PETG: 15% Flow ratio: 0.98 No supports Sparse infill pattern: Rectilinear MODRA Panel M Reinforced 190 × 190 mm | 4 × 4 locks Weight: ~100 g PLA: 30% PETG: 35% Flow ratio: 0.98 No supports Sparse infill pattern: Rectilinear MODRA Panel S 143 × 143 mm | 3 × 3 locks Weight: ~40 g PLA: 19% PETG: 15% Flow ratio: 0.98 No supports Sparse infill pattern: Rectilinear MODRA Panel S Reinforced 143 × 143 mm | 3 × 3 locks Weight: ~55 g PLA: 30% PETG: 35% Flow ratio: 0.98 No supports Sparse infill pattern: Rectilinear Custom Background Each panel size is also available with Custom Background options. All versions maintain identical external dimensions and full compatibility with MODRA accessories. Choose the standard or reinforced version depending on your load requirements. MODRA Segments Additional MODRA Segments are available to expand your layout or build custom configurations without using full panels. Fully compatible with all MODRA Panels. https://makerworld.com/en/models/3299644-modra-system-segments#profileId-3744739 Mounting Guide 1. Start position The first panel must always be installed in the bottom-left corner . This panel becomes the reference for the entire layout. 2. Expansion direction Build the system to the right and upward from the first panel. 3. Panel connection Each new panel mechanically locks into the previous panel, helping press the installed panels against the wall. 4. Screws Because of the interlocking design, installation is typically possible with two screws per panel , but four screws are recommended . 5. Fastener selection The appropriate fastener type and quantity depend on: Wall material Accessory weight Overall system load Use appropriate screws and wall anchors for the mounting surface and expected load.
MODRA System Panels
by MODRA System · original on MakerWorld ↗
♥ 4⬇ 7🖨 2 prints
Print profiles
MODRA Panel L PLA— 237×237 mm (5×5 locks)
⏱ 3h 13m · 100 g · 1 material(s)
Prints on: P1S 0.4, X1 Carbon 0.4, H2D Pro 0.4, X1 0.4, H2S 0.4, X1E 0.4, A1 0.4, A2L 0.4, H2D 0.4, P2S 0.4, H2C 0.4, P1P 0.4, X2D 0.4PLA
Not printable on our printers