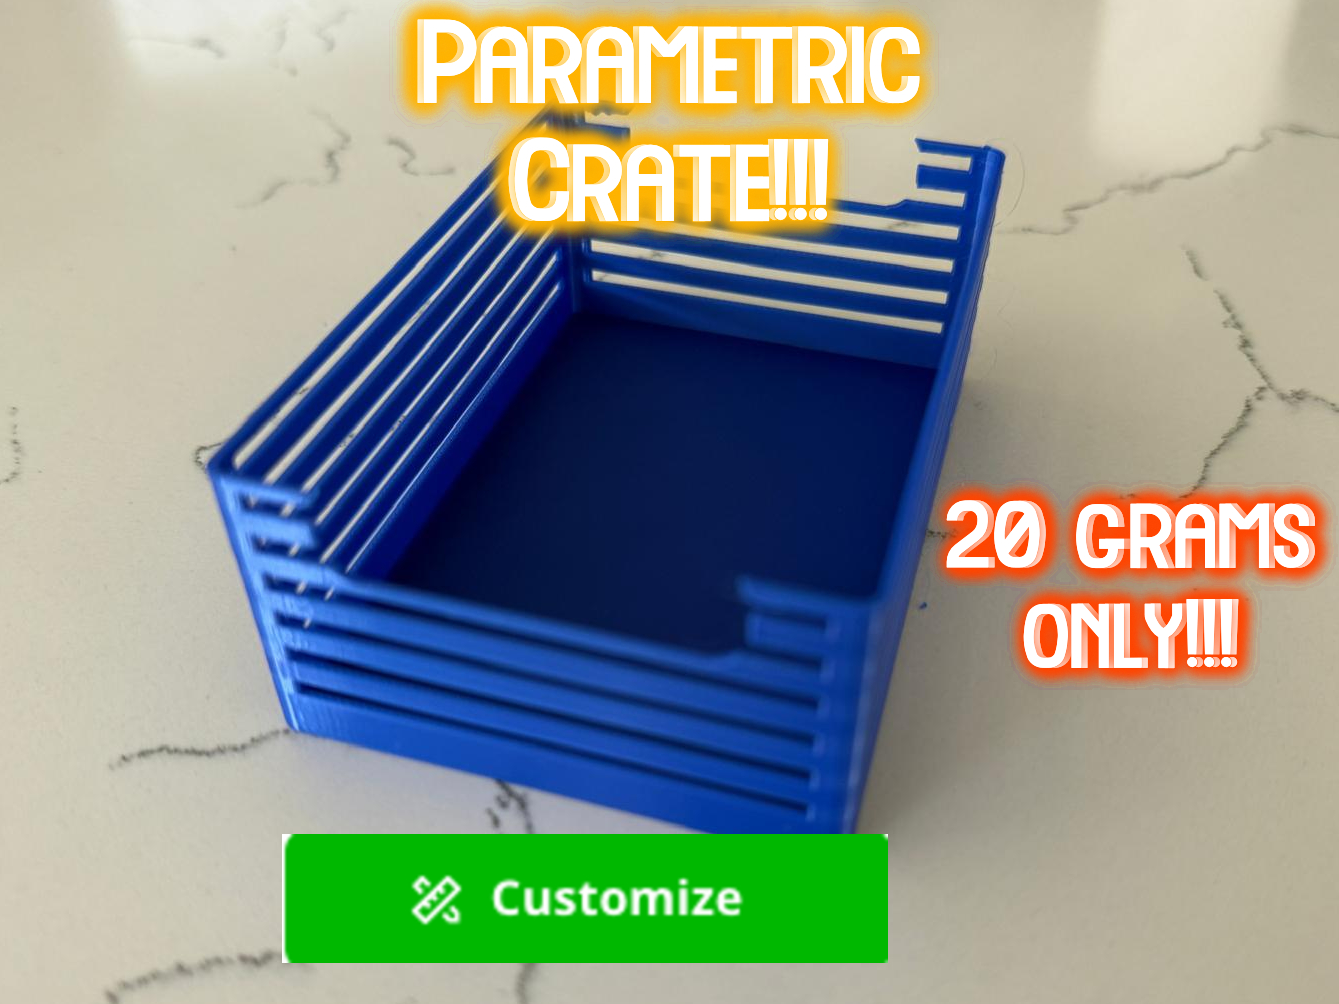
📦 The Ultimate Mini Crate 3D Printing Guide This mini crate is a super useful desk organizer designed to look just like a real miniature shipping crate! You can use it to hold pencils, paper clips, small action figures, or building blocks. The smart design uses slatted sides to look cool while saving plastic. It also features cut-out handles on both sides so you can pick it up easily. The flat bottom ensures it stays steady on your desk or shelf without wobbling. 📐 Dimensions and Geometry This mini crate is scaled to hold your everyday desk supplies without taking up too much space on your table. Width: 70 mm Length: 100 mm Height: 45 mm Solid Volume: 19,571 cubic millimeters Shape Complexity: Built using 1,252 geometric triangles to make the handle curves look extra smooth. ⚖️ Filament Weight Breakdown Chart This project is lightweight and conserves plastic. Filament is the plastic thread used by 3D printers to build objects layer by layer. Component Weight (Grams) Length (Meters) Main Crate Body 23.42 g 7.73 m Support Structures 1.52 g 0.50 m Total Material Used 24.94 g 8.23 m ⏱️ Print Time Breakdown Chart Here is a breakdown of how your printer spends its time completing this project. Phase Duration What Is Happening? Preparation 6 minutes 30 seconds Heating up the nozzle and leveling the bed. Active Printing 1 hour 13 minutes Laying down hot plastic to build the crate. Total Project Duration 1 hour 20 minutes Complete project time from start to finish. 🚀 Print Speed Settings Chart Adjusting printing speeds keeps the outside of your crate looking smooth while speeding up the hidden inside sections. Model Feature Print Speed Why This Speed Matters First Layer 50 mm/s Moves slowly so the plastic sticks tight to the bed. Outer Wall 60 mm/s Creates a smooth, high-quality outer surface. Inner Wall 150 mm/s Builds internal wall structure quickly. Top Surface 150 mm/s Seals the top layer cleanly without gaps. Infill 200 mm/s Fills hidden spaces inside the walls at high speed. ⚙️ Layer Settings for Crisp Details To get clean edges and smooth handle openings, set your printer to the following settings: Layer Height: Set to 0.16 mm High Quality for fine detail. Initial Bottom Layer: Set to 0.2 mm height to guarantee a solid base on your print bed. Nozzle Size: A standard 0.4 mm nozzle works best. Material: Standard PLA Basic filament. 🧱 Infill Pattern and Internal Strength Infill is the grid structure printed inside the solid parts of a model to give it strength without wasting plastic. Sparse Infill Density: Set to 10% . This keeps the crate strong while remaining lightweight. Sparse Infill Pattern: Select Cubic . This creates internal 3D cubes for equal strength in every direction. Internal Solid Infill: Use a Rectilinear pattern (straight back-and-forth lines) to give the bottom floor extra stability. 🛠️ Support Structures (Tree Supports) Supports are temporary plastic towers printed under overhangs so hot plastic does not droop in mid-air. Type: Enable Tree Auto supports. These print like thin tree branches that curve up to hold up the handle cutouts. Threshold Angle: Set to 20 degrees . Removal: Once the print cools down, these branch-like supports easily snap off with your fingers or a small pair of pliers. 🌡️ Bed Adhesion and Cooling Tips Build Plate: Print on a Textured PEI Plate to give the bottom of your crate a subtle textured finish. Cleaning: Make sure your print bed is clean and free of finger oils before starting. Cooling: Always wait for the metal build plate to cool completely before removing your print. Removing it while hot can bend the bottom of the crate! 🌈 Color Ideas and Warehouse Stacking Single Color: Print in bright colors like ocean blue, fire engine red, or lime green. Multi-Color Options: If your printer has an automatic color changer, you can print the handle trim in a contrasting color from the main crate body. Stacking System: Print 4 or 5 crates in different colors to build your own mini desktop warehouse! 🧰 Step-by-Step Finishing & Cleanup Remove Plate: Carefully flex your spring-steel PEI plate to pop the model free. Remove Supports: Reach into the handle cutouts and pinch the tree supports. They should snap away cleanly. Inspect Edges: Use your fingers to smooth away any remaining tiny support nubs. Organize: Place your new crate on your desk and fill it up with your favorite supplies!
Parametric Crate – Customizable Storage!!!
by HS_sonicYT · original on MakerWorld ↗
♥ 1⬇ 3🖨 0 prints
Print profiles
Customizable crate!•0.16mm layer•3 walls•20% infill!!!
⏱ 1h 21m · 25 g · 1 material(s)
Prints on: P1S 0.4, H2C 0.4, X2D 0.4, A1 0.4, A1 mini 0.4, X1 Carbon 0.4, P1P 0.4, H2D Pro 0.4, H2S 0.4, P2S 0.4, A2L 0.4, H2D 0.4, X1 0.4, X1E 0.4PLA
Not in stock
A1 mini (Optimized)0.16mm layer, 2 walls, 20% infill!!!
⏱ 1h 31m · 26 g · 1 material(s)
Prints on: A1 mini 0.4, X1E 0.4, X1 0.4, H2D Pro 0.4, P2S 0.4, P1P 0.4, X1 Carbon 0.4, A1 0.4, H2D 0.4, P1S 0.4, H2C 0.4, X2D 0.4, A2L 0.4, H2S 0.4PLA
Not in stock