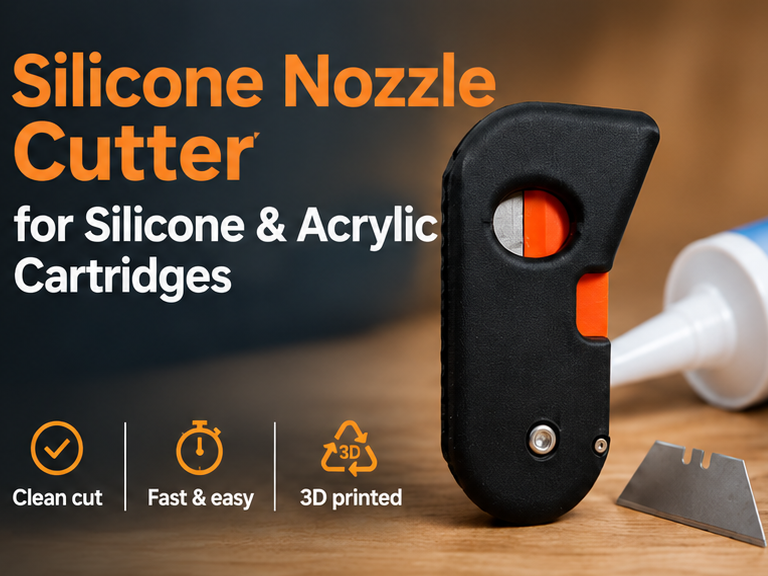
Silicone Cartridge Cutter & Nozzle Trimmer Make clean, precise cuts on your silicone and acrylic cartridge nozzles with this easy-to-use 3D printed tool. Perfect for DIYers, handymen, and professionals who need consistent, smooth cuts for perfect caulking every time. Features: Provides clean and precise cutting of cartridge nozzles. Easy and safe to handle. Durable design utilizing a standard utility blade. Required additional Hardware: 1x M4 Screw (20mm length) 1x M4 Nut 1x M2 Screw (14mm length) 1x Standard Trapezoidal Utility Blade (Trapezklinge) ⚠️ SAFETY WARNING: ⚠️ Please exercise extreme caution when inserting or replacing the blade. Utility blades are incredibly sharp and can cause severe injury. Handle with care and keep out of reach of children. The model creator is not responsible for injuries or damage resulting from improper assembly, modification or use of the tool . 🔧 Assembly 1. Install the blade Carefully insert the standard trapezoid blade into the designated blade holder. ⚠️ IMPORTANT – SHARP BLADE! The blade is extremely sharp . Take special care when installing and handling the blade. Keep your fingers away from the cutting edge. The blade holder features locating pins that correspond to the holes/notches of a standard trapezoid utility blade . These pins ensure that the blade is correctly positioned and help prevent it from slipping during use. Simply align the blade with the locating pins and carefully insert it into the blade holder. Use pliers to insert the blade. Make sure the blade is properly seated and securely fixed before using the cutter. 2. Install the screws Insert the blade holder into the main body as shown as in the pictures. Then: Install: M4 × 20 mm screw + M4 nut M2 × 14 mm screw (To prevent the cutter for opening to far) Tighten the screws sufficiently to hold the components securely, but avoid excessive force that could damage the printed parts. 🧴 How to Use Insert the cartridge nozzle into the cutter. Position the nozzle at the desired cutting position. Carefully rotate/move the cutter to make the cut. Remove the nozzle and check the opening. The cartridge is now ready for use. The resulting nozzle opening can be adapted to the desired application by selecting the appropriate cutting position. If you make one, share a photo — I'd love to see it in use! 🙌 Leave a like if it saved you time. ⭐ Enjoy printing and using the Silicone Nozzle Cutter! 🔧
Silicone Nozzle Cutter
by ktmbohr · original on MakerWorld ↗
♥ 10⬇ 14🖨 10 prints
Print profiles
0.2mm layer, 2 walls, 15% infill_ Print per Layer
⏱ 2h 22m · 54 g · 2 material(s) · needs AMS
Prints on: X2D 0.4, P1P 0.4, A2L 0.4, X1E 0.4, H2D Pro 0.4, X1 0.4, A1 0.4, H2D 0.4, P1S 0.4, H2C 0.4, X1 Carbon 0.4, P2S 0.4, H2S 0.4PLAPLA
Not printable on our printers
0.2mm layer, 2 walls, 15% infill - one colour
⏱ 1h 9m · 37 g · 1 material(s)
Prints on: X2D 0.4, A2L 0.4, H2D 0.4, P1S 0.4, H2D Pro 0.4, X1 0.4, P2S 0.4, H2C 0.4, P1P 0.4, A1 0.4, A1 mini 0.4, H2S 0.4, X1E 0.4, X1 Carbon 0.4PLA
Not in stock
0.2mm layer, 2 walls, 15% infill_ Print per object
⏱ 1h 16m · 38 g · 2 material(s)
Prints on: X2D 0.4, X1E 0.4, P2S 0.4, H2C 0.4, H2D 0.4, A2L 0.4, X1 Carbon 0.4, A1 mini 0.4, H2D Pro 0.4, P1P 0.4, H2S 0.4, X1 0.4, P1S 0.4, A1 0.4PLAPLA
Not in stock