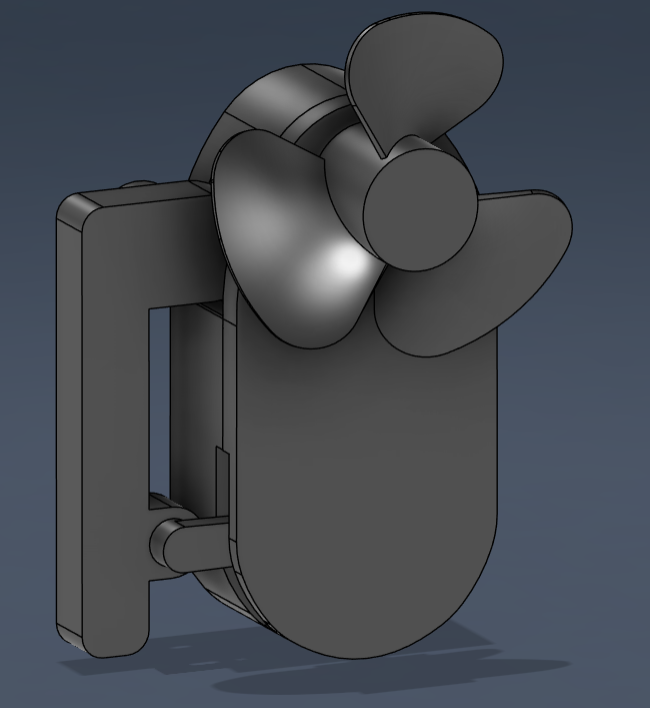
Here are the Assembly Instructions:
1) This is the base model.
2) Firstly, place the biggest gear (30teeth) on the second axle of the main body.
3) Now, attach the cylinder with a square hole to the first gear's axle (bottom most) connection.
4) Then, attach the first and third gear as shown: first single gear (with the hole) at the bottom most axle/cylinder, and the third gear with 26teeth (the bigger gear). And attach the fourth gear (smallest gear) on the top most axle/cylinder).
5) Next attach the handle to the side hole of the main body (highlighted as blue in the image)
6) Then attach the connecter's one side to the handle bottom hole, and the other side to the first single gear's hole (joints highlighted in blue below).
8) Attach the cover body through the joints (highlighted in blue).
9) Attach the 'axle' to the fourth gear's connection hole.
10) And finally, connect the propeller through the axle.
Mechanical Hand Fan
by kahanpatel · original on Printables ↗
Hobby & Makers / Tools
♥ 727⬇ 3.5k🖨 5 prints
Print profiles
Model (Old Model).3mf
⏱ time and weight estimated after preparation · 1 material(s)
Made to order: we prepare this file when you order, which adds a few minutes before printing starts.
Prints on: A1 mini 0.4PLA
Order this print
Model (Old Model).stl
⏱ time and weight estimated after preparation · 1 material(s)
Made to order: we prepare this file when you order, which adds a few minutes before printing starts.
Prints on: A1 mini 0.4PLA
Order this print
FOR PRINTERS (Updated Model).3mfDEFAULT
⏱ time and weight estimated after preparation · 1 material(s)
Made to order: we prepare this file when you order, which adds a few minutes before printing starts.
Prints on: A1 mini 0.4PLA
Order this print
Model (Updated Model).3mf
⏱ time and weight estimated after preparation · 1 material(s)
Made to order: we prepare this file when you order, which adds a few minutes before printing starts.
Prints on: A1 mini 0.4PLA
Order this print