EDIT (6/29/25): Adjusted flow and fan settings for improved compatibility with more printers.
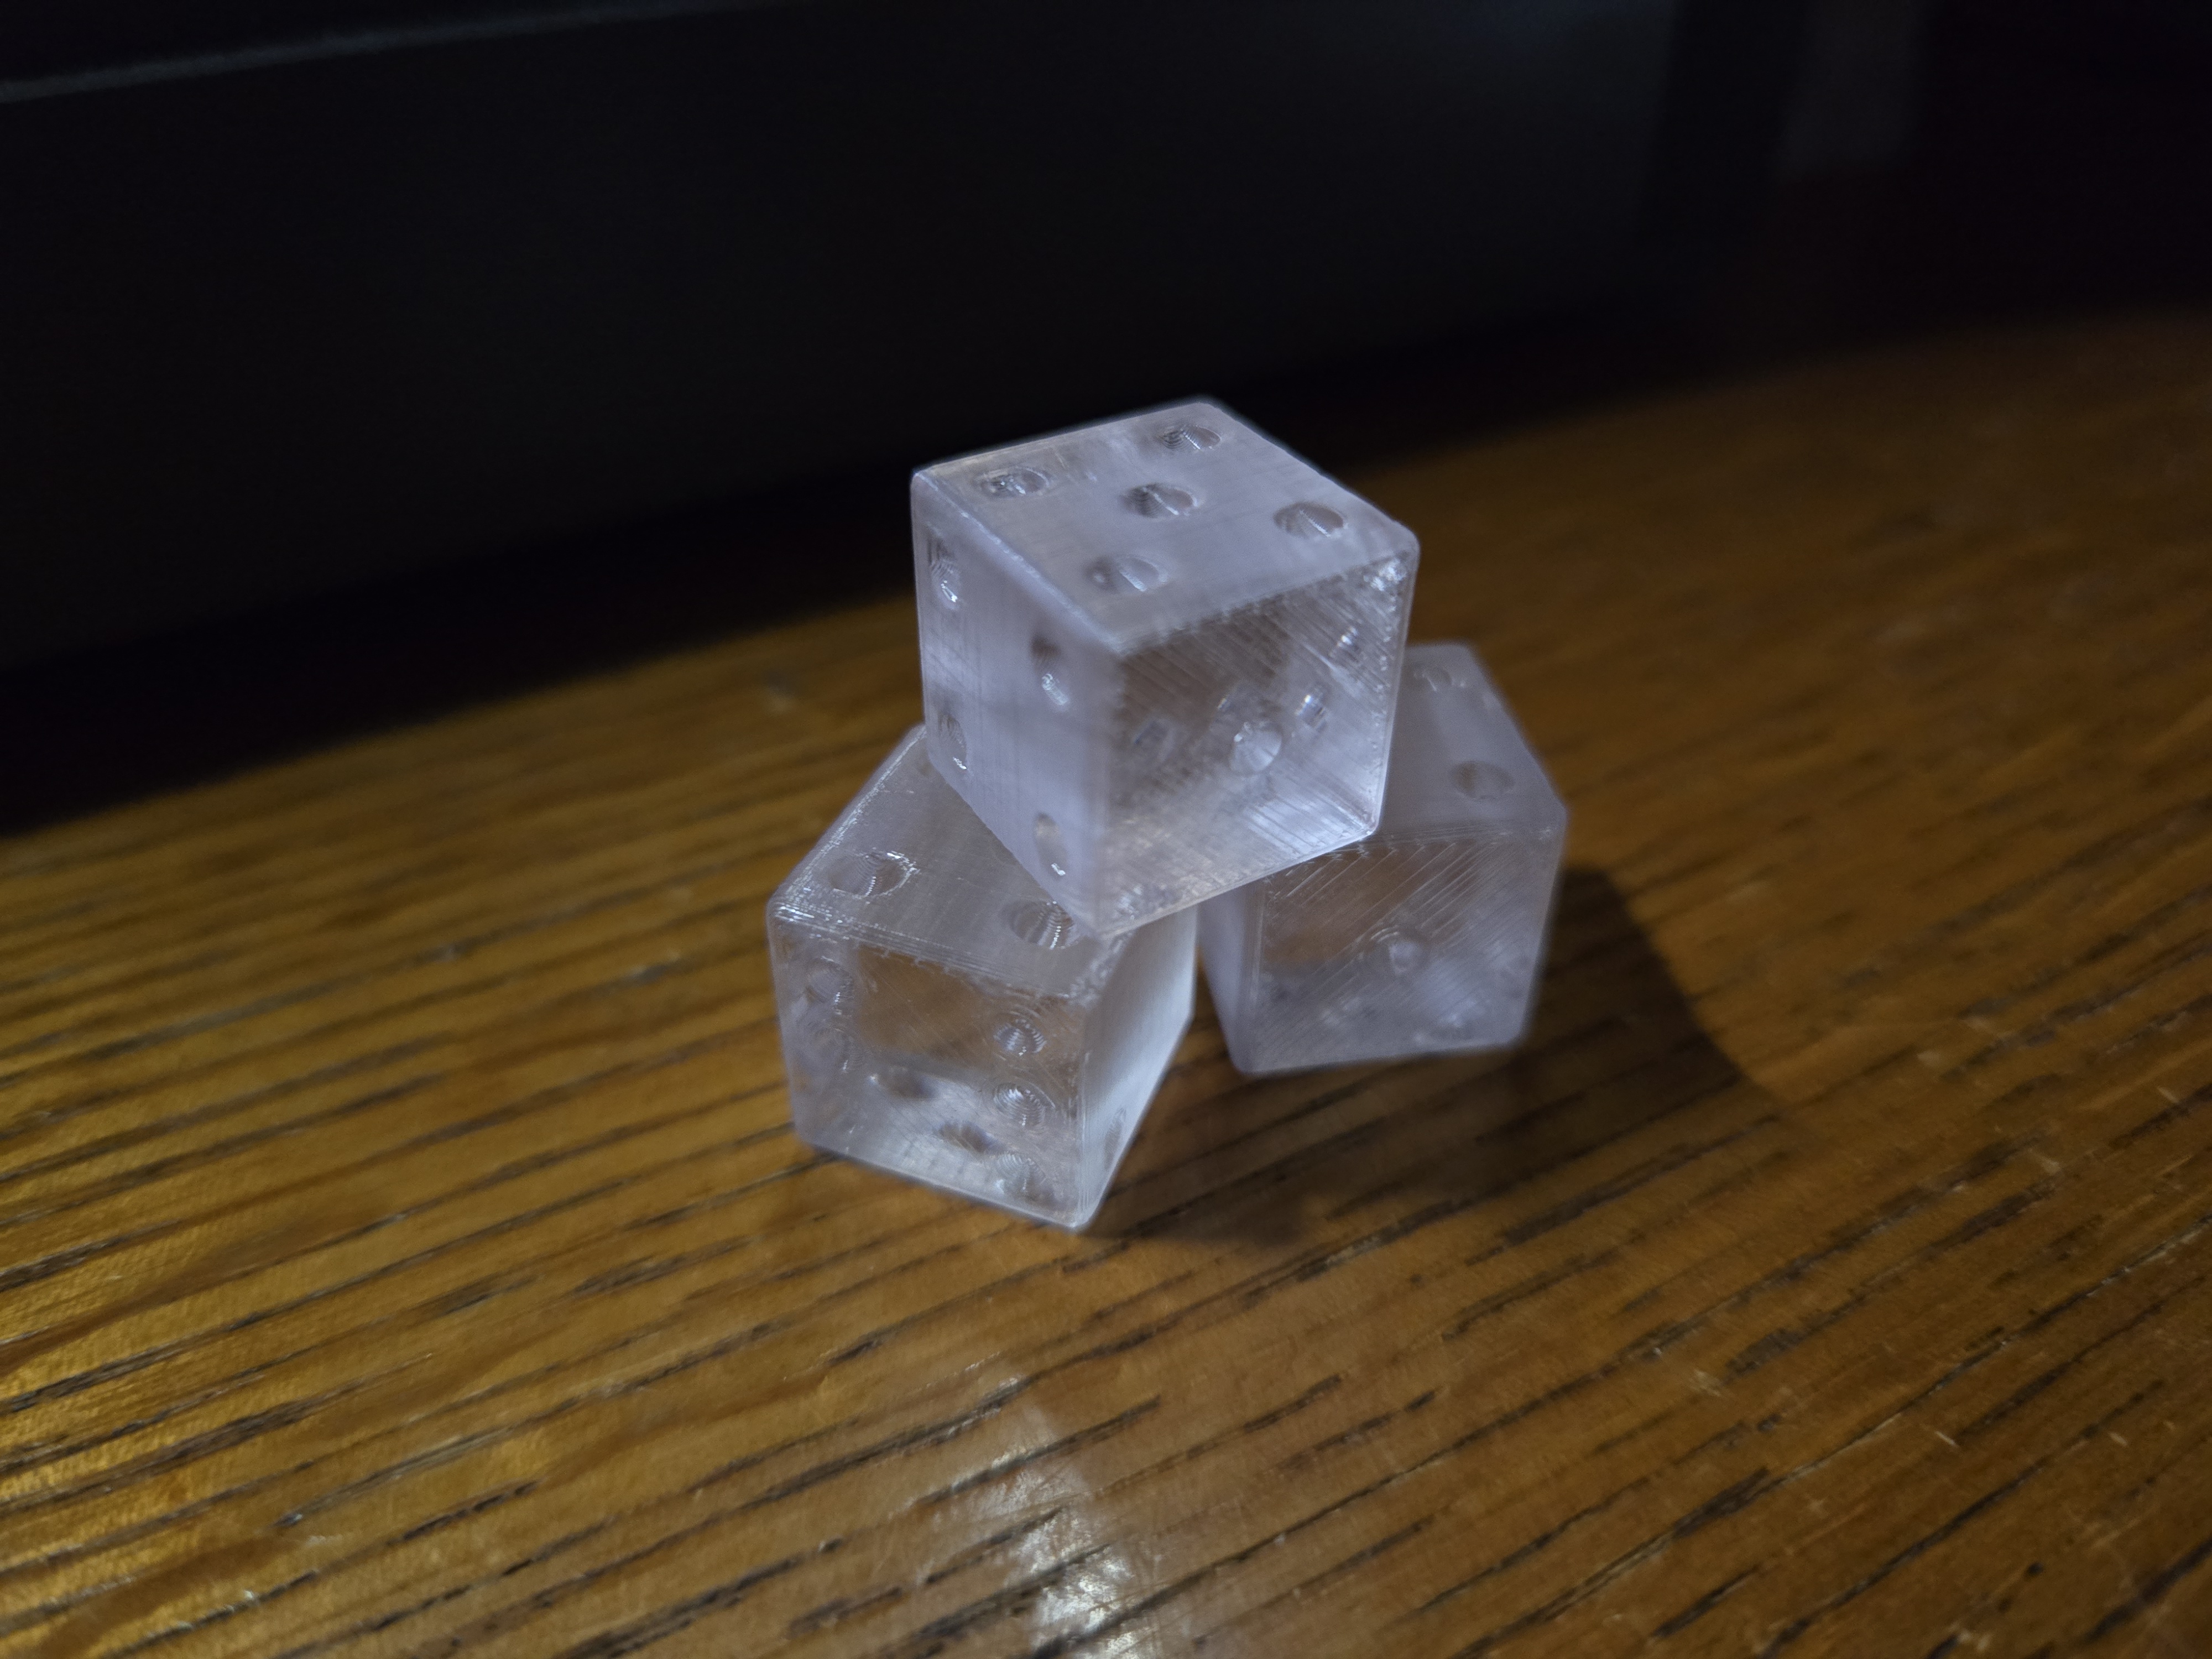
With the proper manipulation of flow you can print just about anything using the glass settings! The Pawn and Dice .3mf file's are proof of concept.
The same basic principles apply here, but first and foremost: for the clearest results, print on a glass or glossy PEX surface.
The only angle from which your printed part will appear completely crystal clear is from the bottom surface. This is because the top layers introduce visible layer lines, and the sides will always retain a slightly frosted appearance due to how the filament is extruded and laid down.
This method is neither easy or hard to accomplish, its definitely a challenge. The challenge comes from a heavy over excursion of the filament, this condition creates a pillowing effect leading to defects in the print. The following is a basic guideline on how to control the heavy flow to create a clean print for items over 10mm tall.
- Start with the Base Glass Settings / .3mf File
Run your initial print and take note of areas with visible over-extrusion or material buildup. - Cut the Model into Sections
Using Orca, divide the model and reduce flow in the specific sections where buildup occurs. Refer to the Pawn and Dice .3mf files for examples on effective slicing and flow reduction. - Adjust Flow Carefully
In the affected sections, reduce flow incrementally, typically between 0.80 and 0.99. The goal is to stay as close to 100% flow as possible. Dropping too low will cause the print to look cloudy rather than clear. It takes balancing the flow, speed and the seam location. - Seam Placement! Alternating the layer start point from one side to the other allows the pillowing effect to be pushed to one side/corner and then back to the other corner, keeping the pillow in the middle of the infill not allowing it to get pushed out over the outer edge creating a defect.
- Every printed part is different and will need a unique combination of flow rate, print speed, seam location and occasionally line width to eliminate imperfections.
For Functional or Fitted Parts:
Printing fitted parts will need a 0.15mm offset due to the over excursion.
Outer perimeters will need to be reduced and bolt/screw holes will need to be expanded.
DRY YOUR FILAMENT! Dry like a gluten free cracker in a vacuum sealed time capsule.
How to print Glass with ORCA .3mf
by Rygar1432 · original on Printables ↗
Hobby & Makers / Other Ideas
♥ 469⬇ 5.0k🖨 9 prints
Print profiles
Dice.stlDEFAULT
⏱ time and weight estimated after preparation · 1 material(s)
Made to order: we prepare this file when you order, which adds a few minutes before printing starts.
Prints on: A1 mini 0.4PLA
Order this print
Pawn.stl
⏱ time and weight estimated after preparation · 1 material(s)
Made to order: we prepare this file when you order, which adds a few minutes before printing starts.
Prints on: A1 mini 0.4PLA
Order this print
Base Glass Settings.3mf
⏱ time and weight estimated after preparation · 1 material(s)
Made to order: we prepare this file when you order, which adds a few minutes before printing starts.
Prints on: A1 mini 0.4PLA
Order this print
Glass Pawn.3mf
⏱ time and weight estimated after preparation · 1 material(s)
Made to order: we prepare this file when you order, which adds a few minutes before printing starts.
Prints on: A1 mini 0.4PLA
Order this print
Glass-dice.3mf
⏱ time and weight estimated after preparation · 1 material(s)
Made to order: we prepare this file when you order, which adds a few minutes before printing starts.
Prints on: A1 mini 0.4PLA
Order this print