UPDATE 12/2025
As some users reported that the springs become weak after a while, I reinforced them. I didn't test them so far, as my original version still works fine. But I hope, this improves the model and I'm looking forward for your feedback!
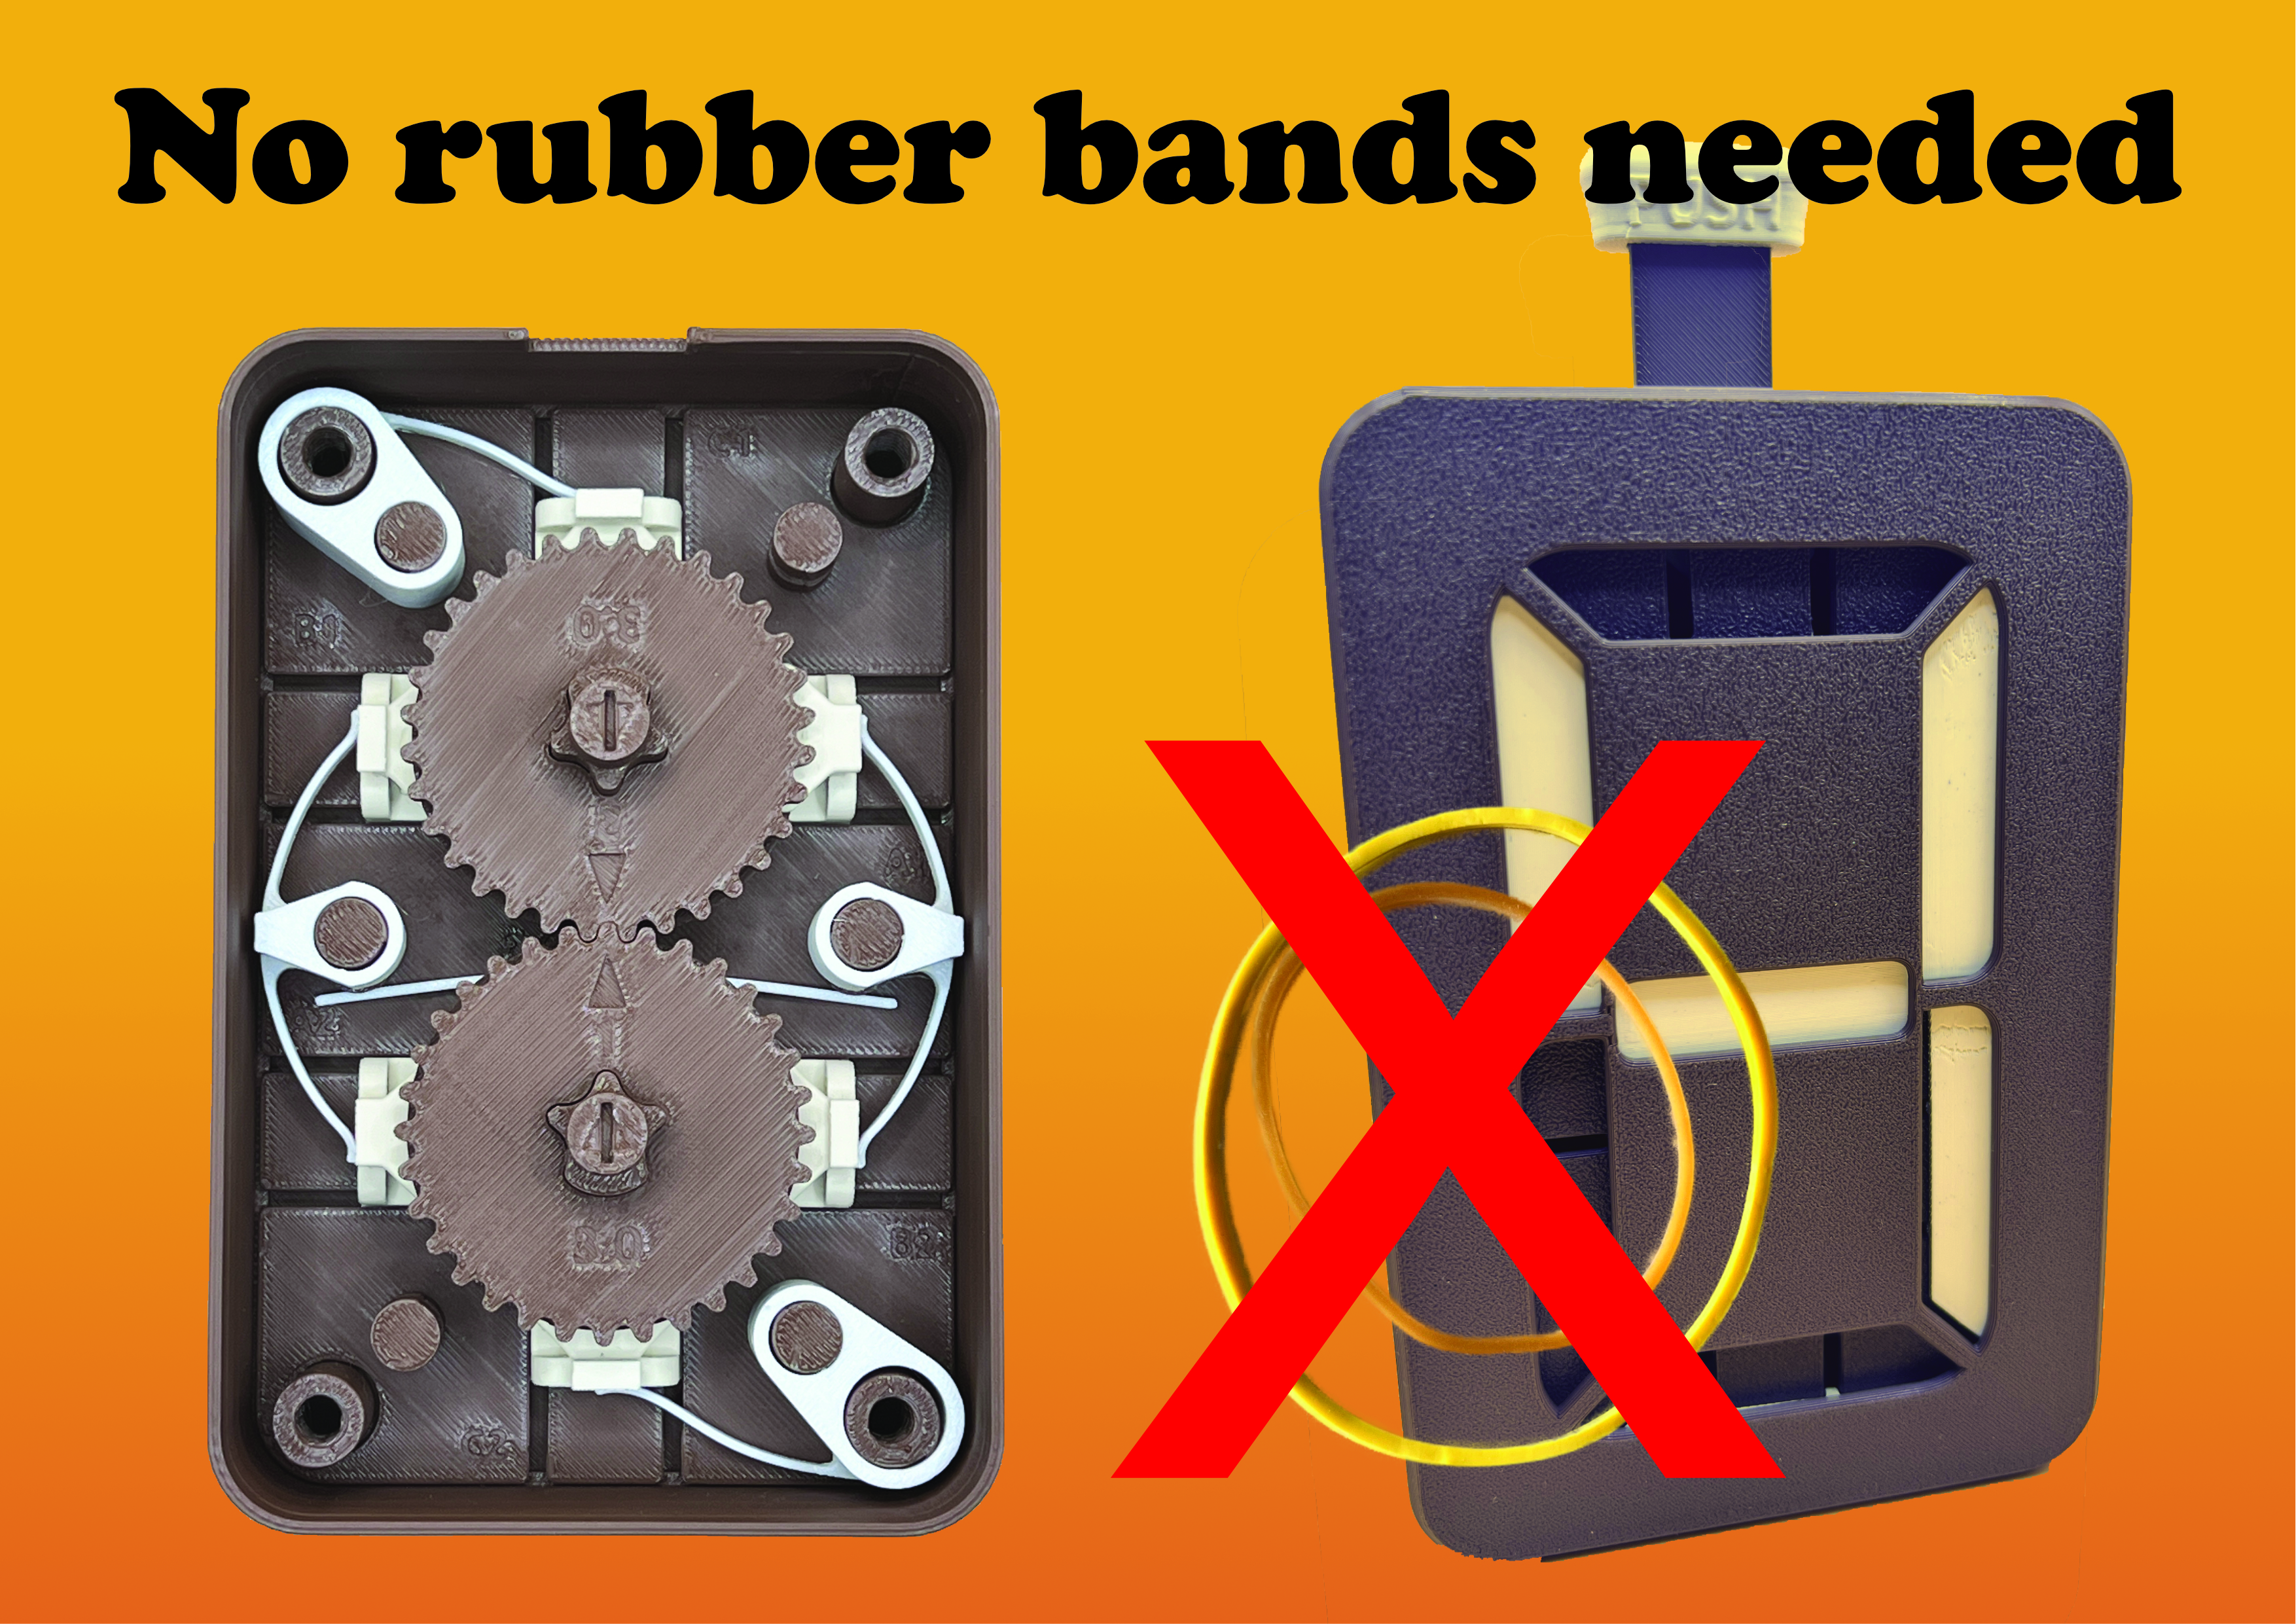
Why no rubber bands?
Because rubber bands always become weaker and brittle after a while. Replacing them with springs makes the model more reliable and durable.
You can use all printed parts from the original model. If you want to give the NO-RUBBER-BAND-MOD a try, you can download the parts, print them in a few minutes and install the springs into the original model. So give it a try!
How to assemble
After installing the D-Segment, install the D-Spring. Do not install the rubber band!
Continue with the installation process as shown in the original video. But also do not install the second rubber band.
Drop the segment plate with the installed segments and cams into the body.
Install the spring_A+B and the spring_C as shown in the photo:
Finish the installation process as shown in the original video.
How to print
It's a fast and easy print with no supports.
2 Walls
15% infill
I highly recommend using PETG, as it is more flexible than PLA or ABS.
2x spring A+B.stl
2x spring C.stl
1x spring_D.stl
or simply use the NO-RUBBER-BAND-MOD.3mf
7 Segment Mechanical Counter, Version 3.0 NO-RUBBER-BAND-MOD
by Twotone74 · original on Printables ↗
Gadgets / Other Gadgets
♥ 1.0k⬇ 3.0k🖨 20 prints
Print profiles
spring_D.stl
⏱ time and weight estimated after preparation · 1 material(s)
Made to order: we prepare this file when you order, which adds a few minutes before printing starts.
Prints on: A1 mini 0.4PLA
Order this print
spring_A+B.stlDEFAULT
⏱ time and weight estimated after preparation · 1 material(s)
Made to order: we prepare this file when you order, which adds a few minutes before printing starts.
Prints on: A1 mini 0.4PLA
Order this print
spring_C.stl
⏱ time and weight estimated after preparation · 1 material(s)
Made to order: we prepare this file when you order, which adds a few minutes before printing starts.
Prints on: A1 mini 0.4PLA
Order this print
NO-RUBBER-BAND-MOD.3mf
⏱ time and weight estimated after preparation · 1 material(s)
Made to order: we prepare this file when you order, which adds a few minutes before printing starts.
Prints on: A1 mini 0.4PLA
Order this print
spring_A+B_reinforced.stl
⏱ time and weight estimated after preparation · 1 material(s)
Made to order: we prepare this file when you order, which adds a few minutes before printing starts.
Prints on: A1 mini 0.4PLA
Order this print
spring_D_reinforced.stl
⏱ time and weight estimated after preparation · 1 material(s)
Made to order: we prepare this file when you order, which adds a few minutes before printing starts.
Prints on: A1 mini 0.4PLA
Order this print
spring_C_reinforced.stl
⏱ time and weight estimated after preparation · 1 material(s)
Made to order: we prepare this file when you order, which adds a few minutes before printing starts.
Prints on: A1 mini 0.4PLA
Order this print
NO-RUBBER-BAND-MOD_REINFORCED.3mf
⏱ time and weight estimated after preparation · 1 material(s)
Made to order: we prepare this file when you order, which adds a few minutes before printing starts.
Prints on: A1 mini 0.4PLA
Order this print