Heyho :)
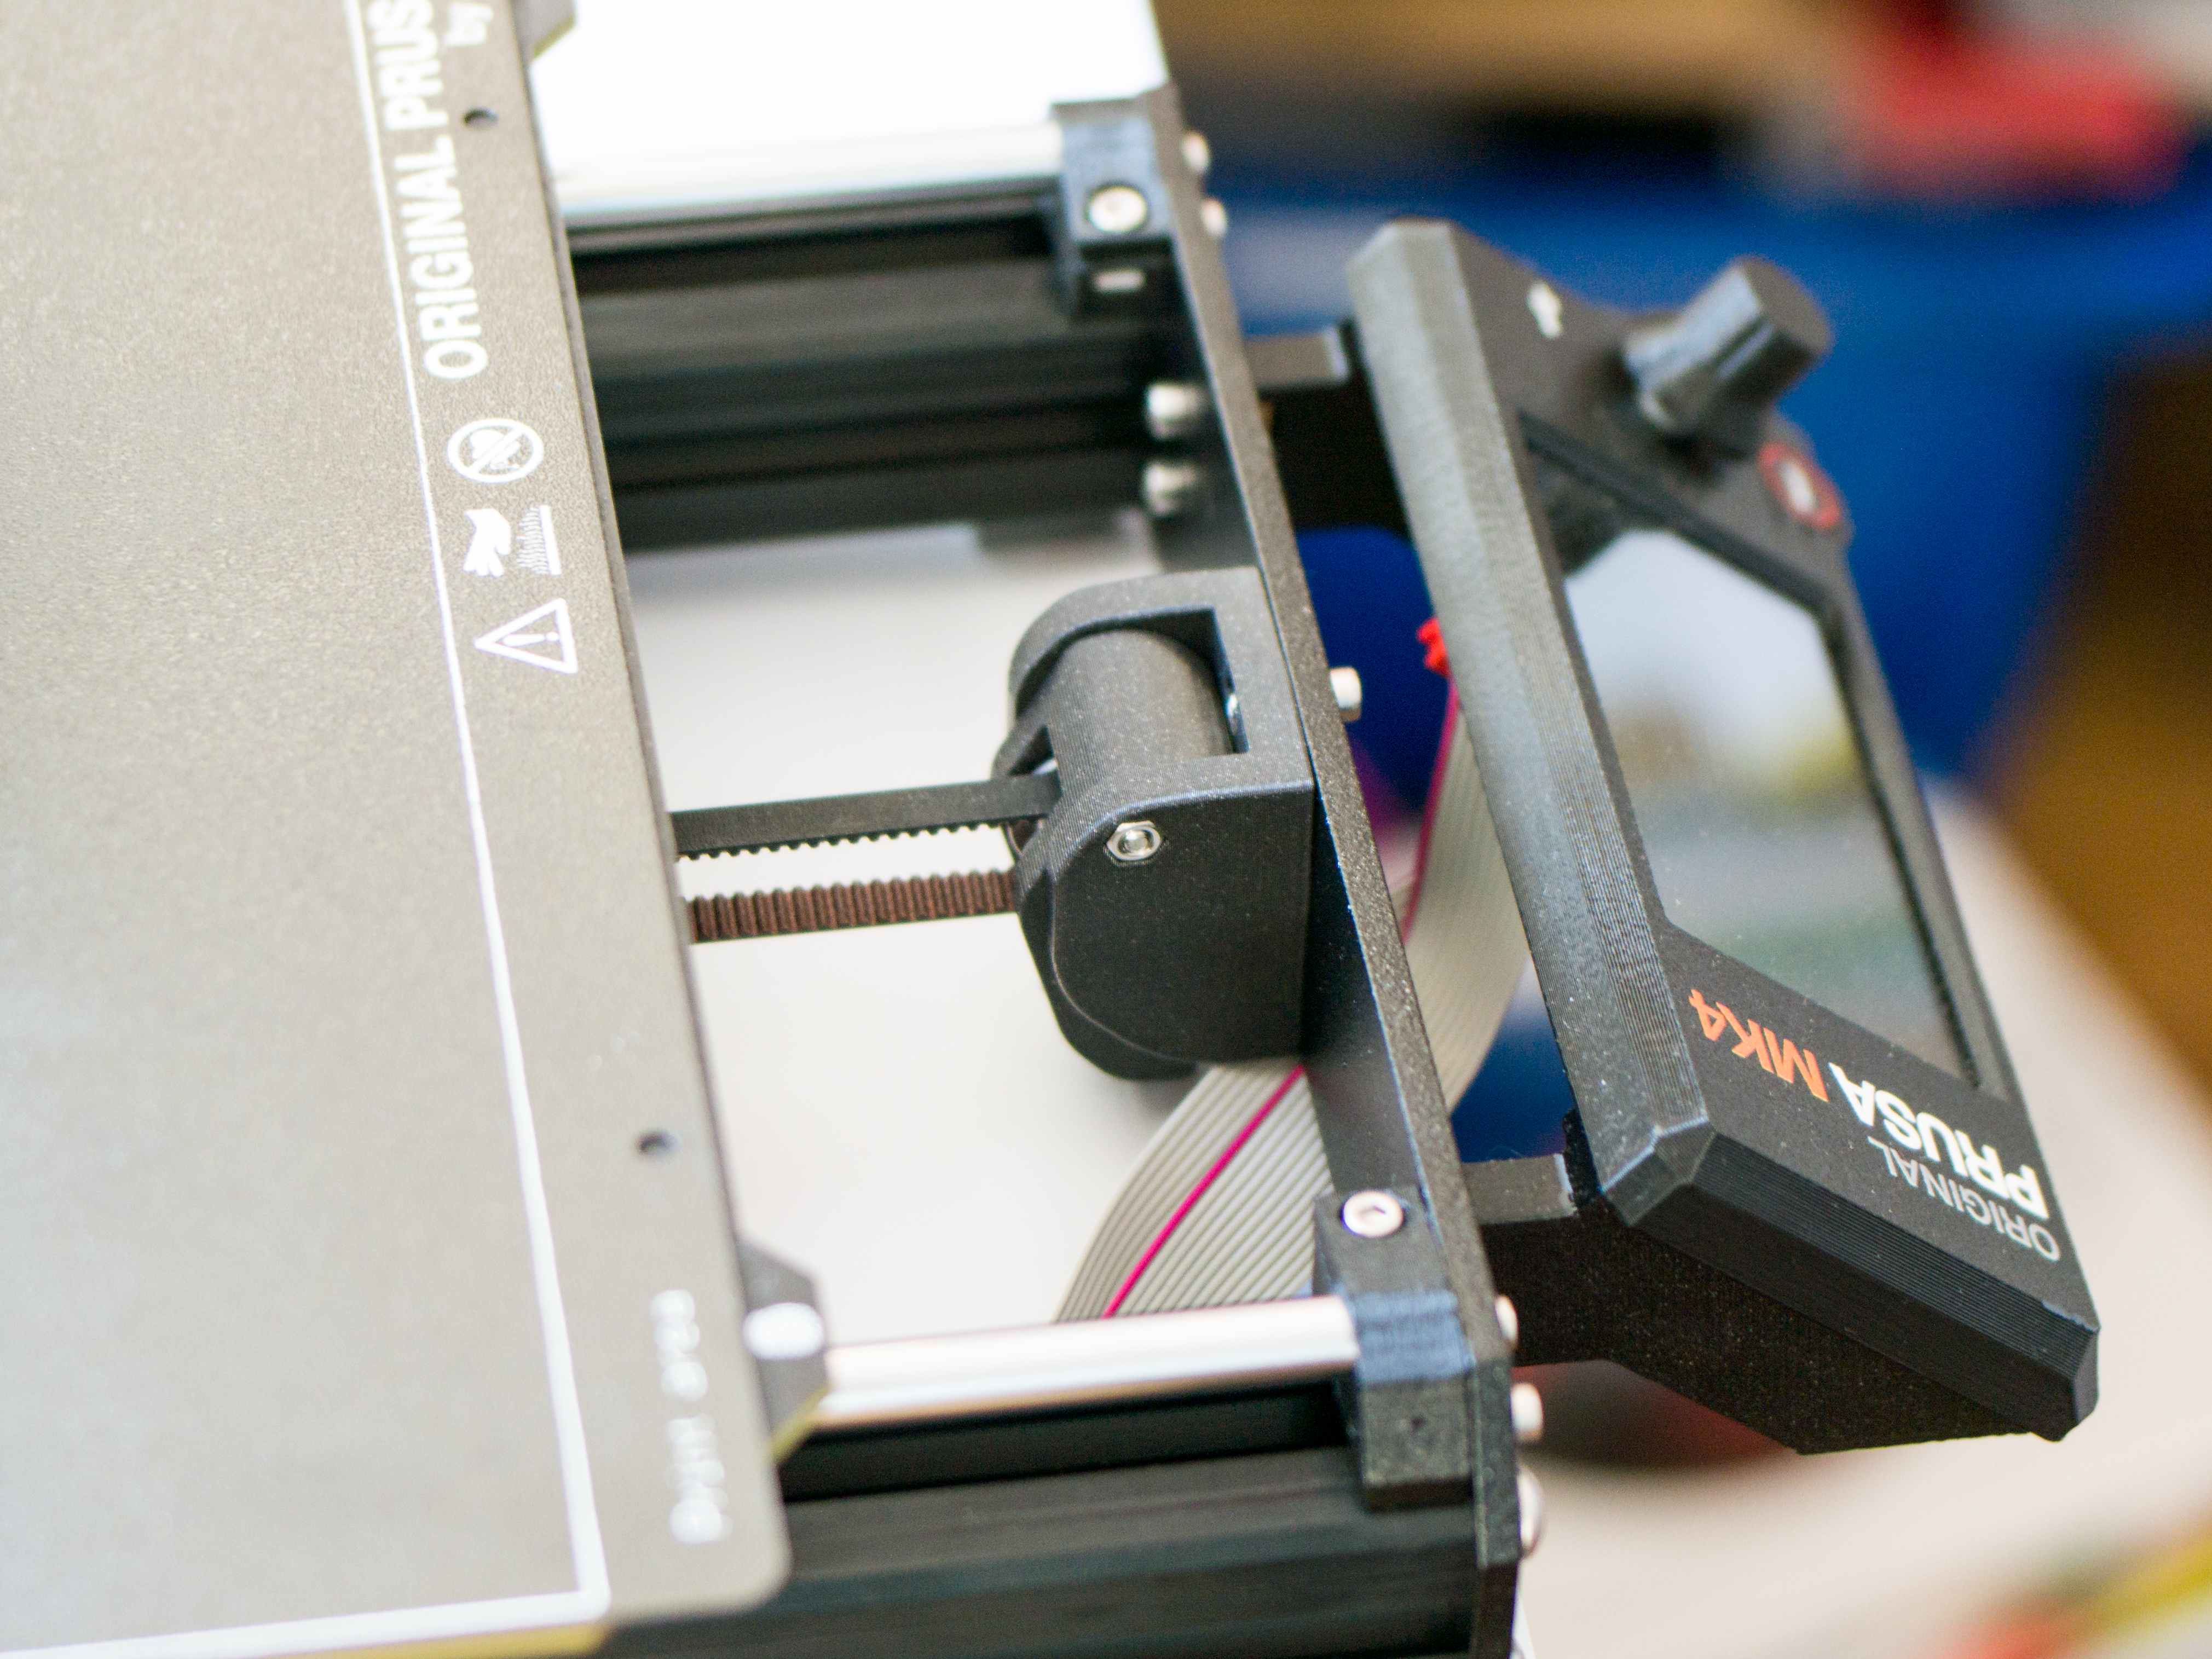
Here is a tensioning device for the belt of the Y-axe.
I have tested at least 4 different designs myself but was never really satisfied. Either the designs were too clunky, not nice to print, you had to drill holes or the movement radius was too small.
So here are the advantages of my version:
- Slim optics.
- FDM print optimised.
- Very large movement radius.
- Designed for different idlers.
- No holes have to be drilled.
- No parts need to be organised.
You will need parts:
standard & slim design can be printed for a 3 mm or a 5 mm idler axis.
Belt tensioner standard
With the standard version, all parts are included in the kit and you do not have to organise anything separately.
2 x M3 x 10 mm Screw
1 x M3 x 25 mm Screw (20 - 30 mm should be fine too)
1 x M3 x 30 mm Screw
3 x M3 nut
1 x M3 nylon lock nut
1 x M3 washer (optional)
1 x Axis 20 mm x 3 mm
1 x Belt Idler
Belt tensioner slim
Replace the M3 x 30 mm screw with a 25 mm screw.
Replace the 20 mm axis with a 17 mm one.
Assembly sinstructions:
- Gather all parts :)
- Insert the 3 M3 nuts into the back plate.
- Insert the front part into the back plate and secure it with the long screw.
- Insert the Belt, Idler & secure it with the axis. (You can do that later too)
- Insert the M3 x 25 mm screw with a washer to the back plate and connect it with the nylon lock nut at the front part.
- Screw the assembly to the frame with the M3 x 10 mm Screws.
- Adjust the belt tension with the new tensioner.
I also tighten the original belt tensioner under the headbed together so that is as stiff as possible.
Tipps:
You can change the assembly order if you want to. But then it may get a little bit more fiddly.
You don't need to take the display off.
It is more easy to adjust the belt tension if your printers position is close to the table edge
You can use the Prusa belt tension app as a help to adjust the tension. https://belt.connect.prusa3d.com
Printing Instructions:
I used a 0,4 mm Nozzle & ASA 4 Perimeter, 25% Infill
Other materials like PETG will work fine too. PLA is not recommended.
Tolerances: I designed it so everything was a quite loose fit. So even with not perfect adjustments most of you should be able to reprint this without problems :D
Small Update 17.01.2024: Added a Pinhole for a better disassembling of the pin. Thanks to craigktreasure for the input :)
Simple Prusa i3 MK4 s Y- Axis belt tensioner (3 mm and 5 mm versions)
by Meister Edel · original on Printables ↗
3D Printers / Prusa Parts & Upgrades
♥ 502⬇ 1.8k🖨 95 prints
Print profiles
Belt Tensioner Slim 3mm.stl
⏱ time and weight estimated after preparation · 1 material(s)
Made to order: we prepare this file when you order, which adds a few minutes before printing starts.
Prints on: A1 mini 0.4PLA
Order this print
Belt Tensioner Slim 5mm.stl
⏱ time and weight estimated after preparation · 1 material(s)
Made to order: we prepare this file when you order, which adds a few minutes before printing starts.
Prints on: A1 mini 0.4PLA
Order this print
Belt Tensioner standard 5mm.stl
⏱ time and weight estimated after preparation · 1 material(s)
Made to order: we prepare this file when you order, which adds a few minutes before printing starts.
Prints on: A1 mini 0.4PLA
Order this print
Belt Tensioner standard 3mm.stlDEFAULT
⏱ time and weight estimated after preparation · 1 material(s)
Made to order: we prepare this file when you order, which adds a few minutes before printing starts.
Prints on: A1 mini 0.4PLA
Order this print