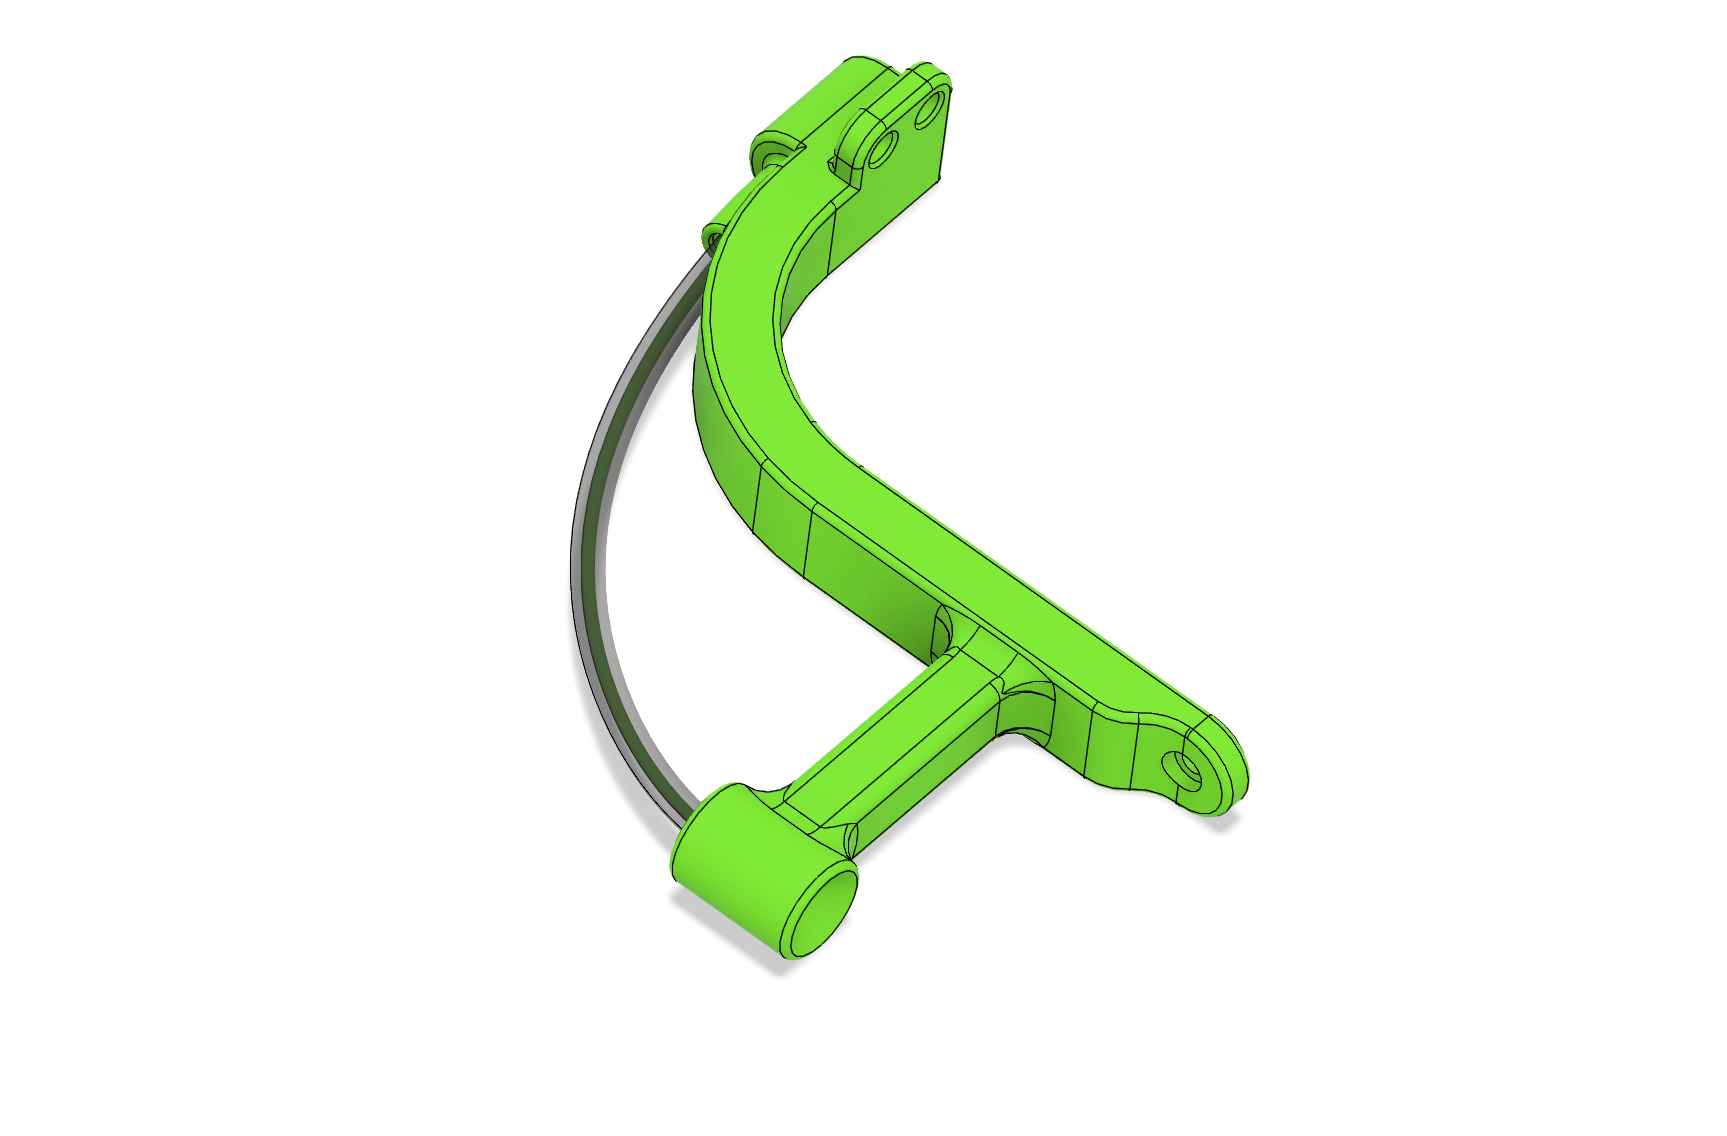
Side Filemant Guide for the P1P if you use a Side Mounted Spool Arm / Holder
It is designed to screw directly into the left upper frame of the printer, for extra stability and in the back of the frame, where it replaces the original PTFE coupler (or my replacement for that)
BOM
- 2 x PC4-M10 connectors or PC4-M6 (Amazon Affiliate Link)
- 2 x Original PTFE tube guide screws
- 1 x M3x12 + washer/spacer
- 15 cm of PTFE tube
- optional: Bambu Lab P1P Heavy Duty Side Spool Arm
Printing
check, which threads your PC4-M10 connectors has: they do not specify the thread pitch. if a regular M10 nut fits, then it is M10x1.5 mm - if not, it is most likely MF10x1.0 (or even MF10x0.9) even it says “M10” - you might pick the right file to print. PC4-M6 usually has M6x1.0 threads, if you encounter different threads just drop me a line
i recommend PETG with 0,12 mm layer height, 6 wall loops and a moderate amount of infill 25 % is enough, since there is an internal structual support directly modelled in - if you print with larger layer heights, you may need to use “gentle force” to thread in the connectors
if you don't have any enclosure, you want to print the 5,5 mm spacer, with an enclosure with 3 mm wall thickness, you'll need the 2,5 mm spacer - measure and adjust for the actual size
Assembly
- check if the PTFE-Tube fits, if not, you might drill out the hole with a 4,2 to 4,5 mm drill
- Thread in the 2 PC4-connectors
- insert the PTFE-Tube, to avoid jams, it needs to be coaxial with the back bore - if it is not, you might soften it gently with a heatgun or shorten it a few mm
- Remove the PTFE Guide and save the screws
- Screw in the filament arm in the back with those 2 screws
- put the M3x12 screw through hole on the side and the spacer around and screw it into the left upper frame - the hole there is not tapped, so a firm press and slow, straigt and steady will cut threads into the thin metal beam (you also can use a tap, if you have one)
note that this step can't be done on the X1/X1C or P1C without drilling through the side
Notes
The radius of the arm matches modplates with a maximum thickness of 3 mm - if you have thinner pieces, it might leave a small gap or might not fit at all on thicker pieces
the gap between the outside edge of your enclosure and the left beam of the printer frame should measure 5,5 mm (the provided spacer distance)
if you're looking for a matching enclosure, the Minimal Enclosure fits perfectly
Side Filament Guide Arm for P1P / P1S / X1C
by suit · original on Printables ↗
3D Printers / Accessories
♥ 311⬇ 1.6k🖨 15 prints
Print profiles
Filament Guide Arm M10x1.5 v20.3mf
⏱ time and weight estimated after preparation · 1 material(s)
Made to order: we prepare this file when you order, which adds a few minutes before printing starts.
Prints on: A1 mini 0.4PLA
Order this print
Filament Guide Arm M10x1.0 v20.3mfDEFAULT
⏱ time and weight estimated after preparation · 1 material(s)
Made to order: we prepare this file when you order, which adds a few minutes before printing starts.
Prints on: A1 mini 0.4PLA
Order this print
Filament Guide Arm M6x1.0 v20.3mf
⏱ time and weight estimated after preparation · 1 material(s)
Made to order: we prepare this file when you order, which adds a few minutes before printing starts.
Prints on: A1 mini 0.4PLA
Order this print