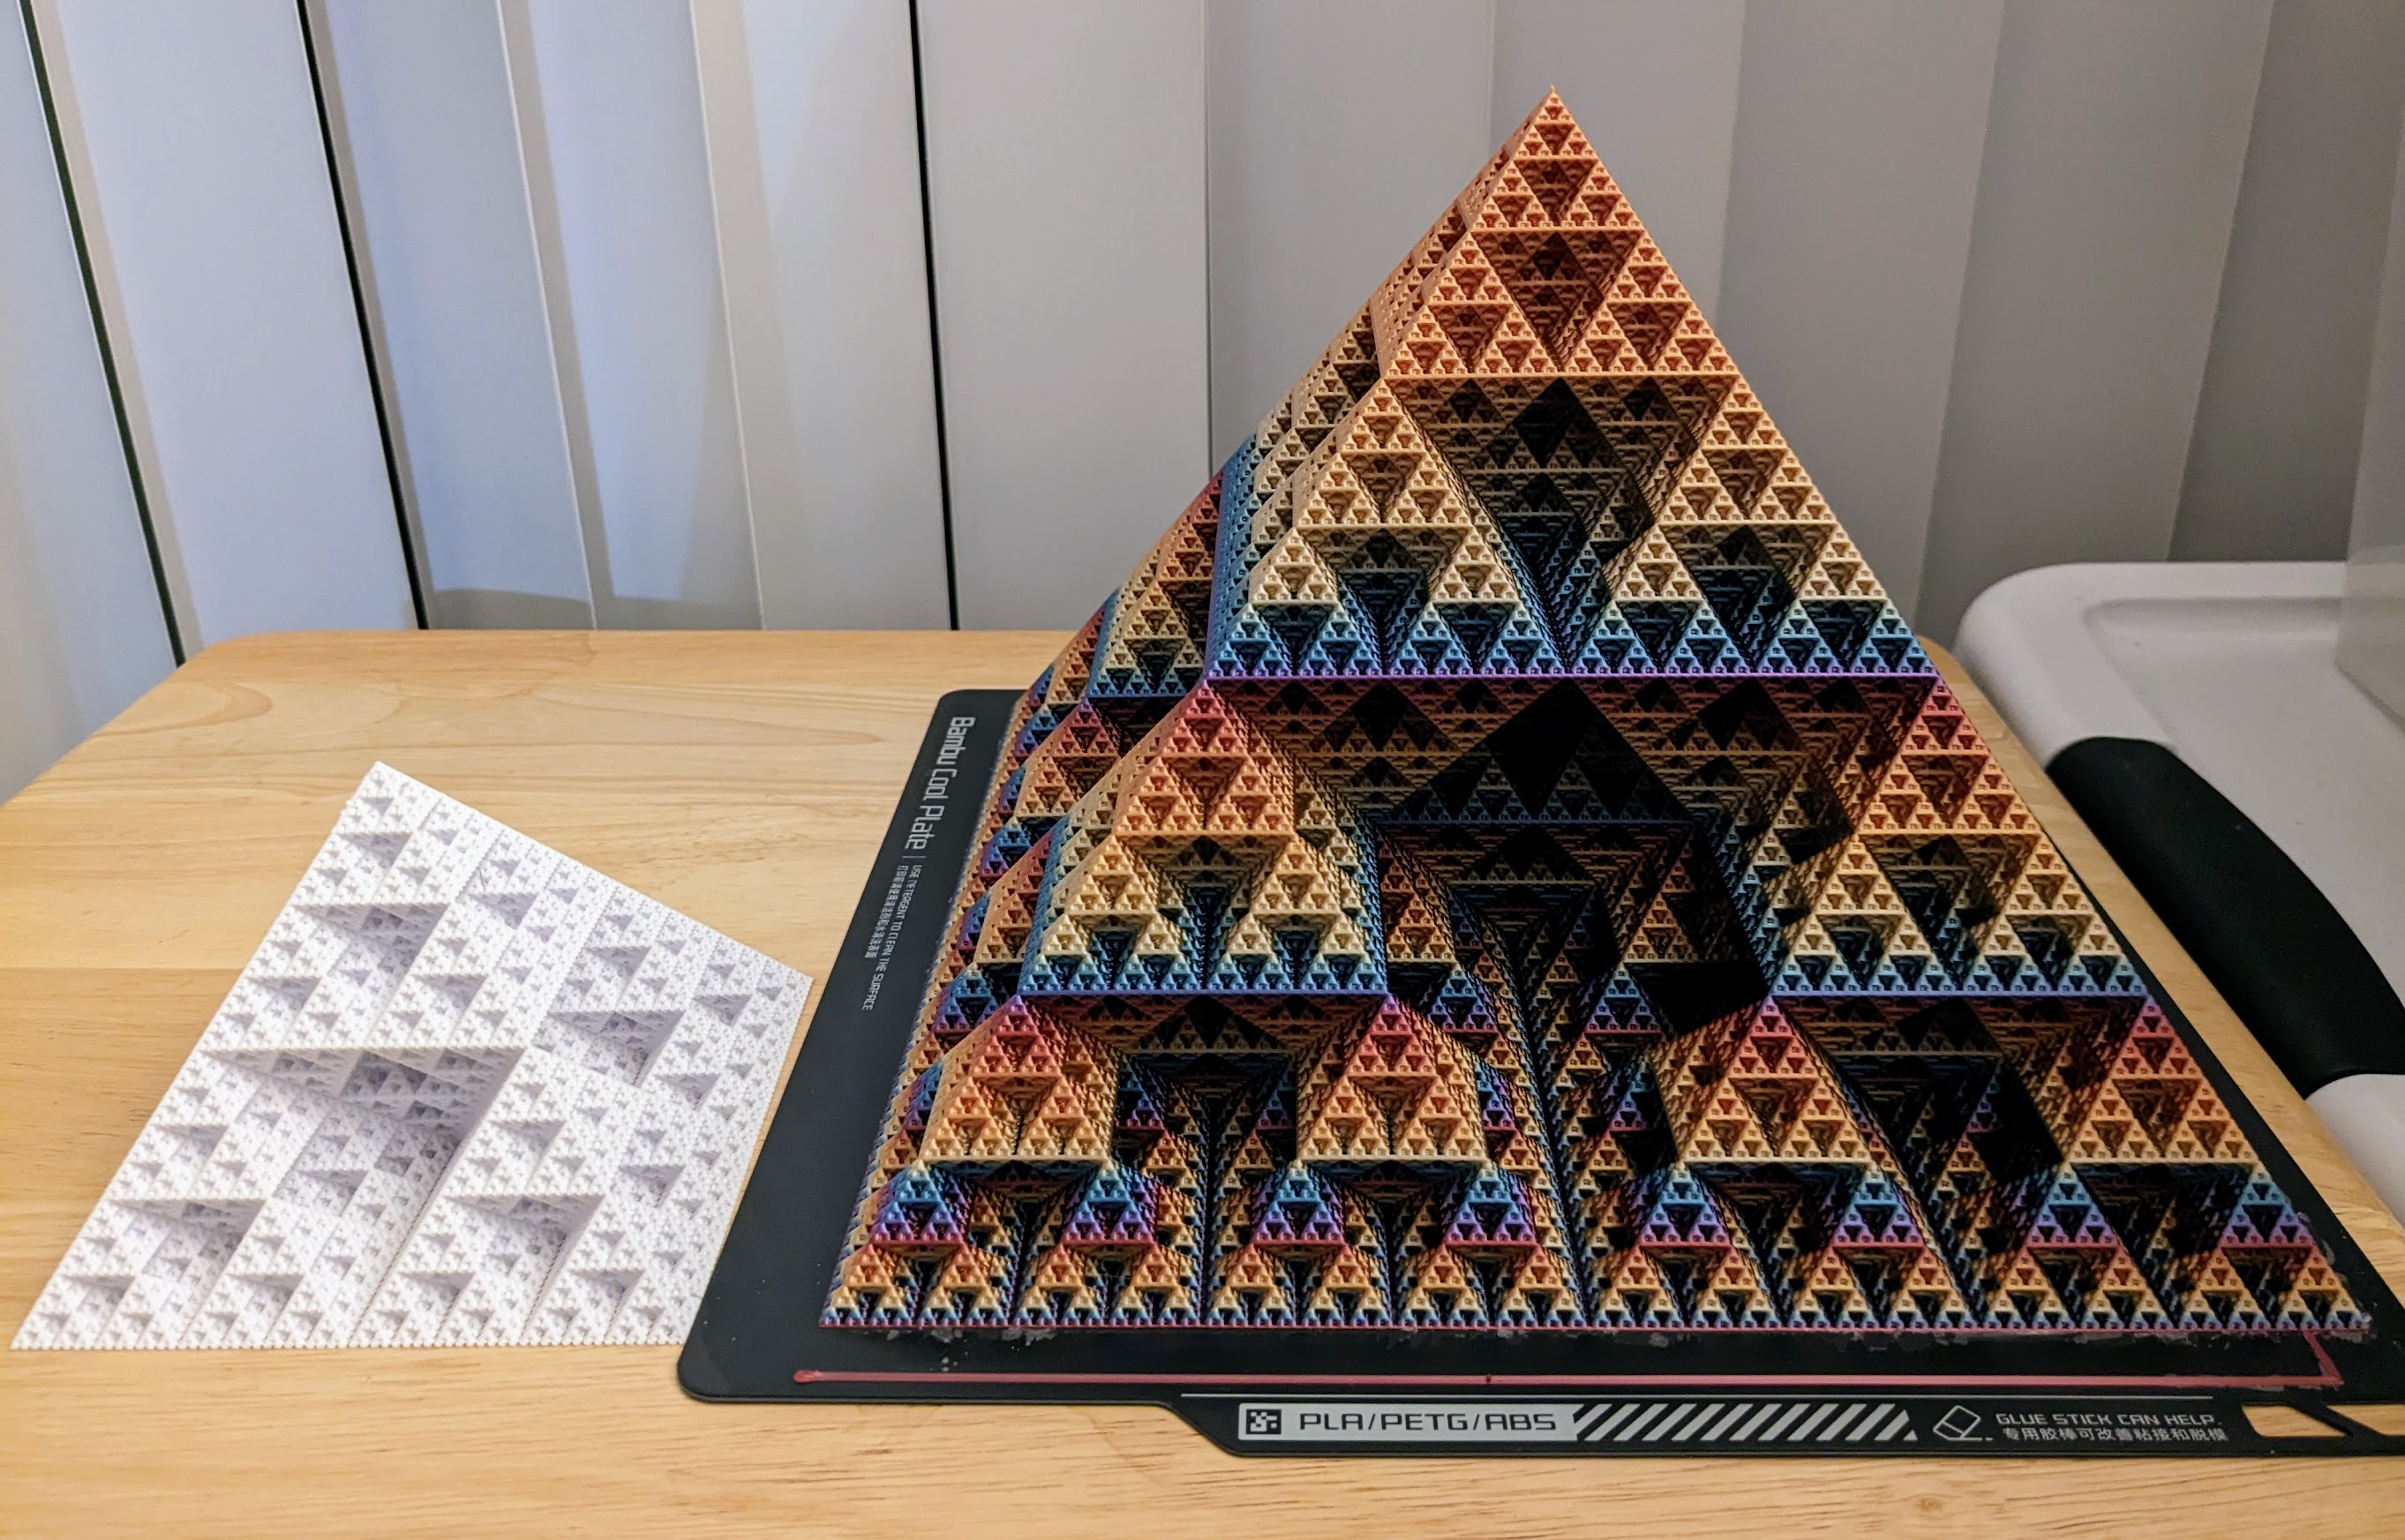
After having no luck slicing an existing level 7 Sierpinski fractal pyramid, I generated my own using OpenSCAD. OpenSCAD took nearly a day to generate a level 6 pyramid, so I almost gave up until I found there was an experimental Fast CSG option. It turns out a fractal pyramid is well suited to the new option and is at least 10x faster than the standard render option.
In addition to the STL, some .3MF project files are included because it can be difficult to properly slice such a complex object in vase mode.
Two 3MF files are for Bambu Studio which are (almost) at the maximum bed size for the Bambu X1C/P1P. One uses .2mm layer height which will take 28 hours to print using 374g of filament. The other uses .16mm layers, is larger, and will take 40 hours to print using 446g of filament.
Also included are some Prusa Slicer project files. Two for the XL which are straight copies of the settings used for the Bambu prints. A third project is small enough to fit on the i3.
A fourth project file plus gcode is for use with a 0.6 nozzle on the XL. It will nearly fill the entire bed of the XL and take over 3 days and 1.4kg of filament!
A Bambu Studio project file with a notched base (seen in the last picture) for the big_pyr_1_6_Bambu.3mf print that is sized to fit the Bambu print bed is available.
Slicing Tips
It can be difficult to successfully slice such a complex vase mode print. The difference between this
and this
is adjusting the Extrusion Width by 0.02mm.
The method that gave me the most success with slicing was to scale the model to a precise height based on the layer height and the number of cells.
Each cell is a pyramid. This Level 7 Sierpinski Pyramid is 128 cells tall because Level 7 => 2^7 = 128. To resolve each pyramid cell, you would probably want at least 5 layers. The more layers, the better resolved each cell will be. To find the height for the model simply multiply 128 x Layer Height x # cell layers. The maxed size Bambu print uses
128 x 0.16mm x 8 = 163.84mm height
That scales the base to the Bambu's max bed size without entering the “reserved” areas for the cutting tool or the prime lines.
The slightly smaller version that takes 12 hours less to print uses .2mm lines so:
128 x 0.2mm x 6 = 153.6mm
For these sizes, an Extrusion Width/Line Width is set to 0.42mm. For the i3 version using 0.14mm layers, it was necessary to change the Extrusion Width to 0.4mm.
Arachne was used for wall generation. The slicers predicted a slightly faster print time over the classic algorithm, but it's unclear if that's a real time savings or if the estimation math is different.
Other print settings that needed to be changed were 0 bottom layers and setting the layer height for the first layer to be the same as the rest. Some slicers might be able to compensate for those being different, but I wanted to keep the math simple and reduce the number variables affecting the success of the slicing because it takes a long time on such a complex model.
Level 7 Sierpinski Fractal Pyramid (Vase Mode)
by TBone · original on Printables ↗
Learning / Math
♥ 358⬇ 2.7k🖨 17 prints
Print profiles
base-notch_1_6_Bambu.3mfDEFAULT
⏱ time and weight estimated after preparation · 1 material(s)
Made to order: we prepare this file when you order, which adds a few minutes before printing starts.
Prints on: A1 mini 0.4PLA
Order this print
Bambu_L7_pyr_2_0_trimmed.3mf
⏱ time and weight estimated after preparation · 1 material(s)
Made to order: we prepare this file when you order, which adds a few minutes before printing starts.
Prints on: A1 mini 0.4PLA
Order this print
Bambu_L7_pyr_1_6_trimmed.3mf
⏱ time and weight estimated after preparation · 1 material(s)
Made to order: we prepare this file when you order, which adds a few minutes before printing starts.
Prints on: A1 mini 0.4PLA
Order this print
L7_pyr_1_6_trimmed.stl
⏱ time and weight estimated after preparation · 1 material(s)
Made to order: we prepare this file when you order, which adds a few minutes before printing starts.
Prints on: A1 mini 0.4PLA
Order this print
big_pyr_1_4_PrusaRegTRIMMED.3mf
⏱ time and weight estimated after preparation · 1 material(s)
Made to order: we prepare this file when you order, which adds a few minutes before printing starts.
Prints on: A1 mini 0.4PLA
Order this print
Orca_big_pyr_1_4_PrusaRegTRIMMED.3mf
⏱ time and weight estimated after preparation · 1 material(s)
Made to order: we prepare this file when you order, which adds a few minutes before printing starts.
Prints on: A1 mini 0.4PLA
Order this print
big_pyr_2_0_PrusaXL.3mf
⏱ time and weight estimated after preparation · 1 material(s)
Made to order: we prepare this file when you order, which adds a few minutes before printing starts.
Prints on: A1 mini 0.4PLA
Order this print
big_pyr_3_2_PrusaXL.3mf
⏱ time and weight estimated after preparation · 1 material(s)
Made to order: we prepare this file when you order, which adds a few minutes before printing starts.
Prints on: A1 mini 0.4PLA
Order this print