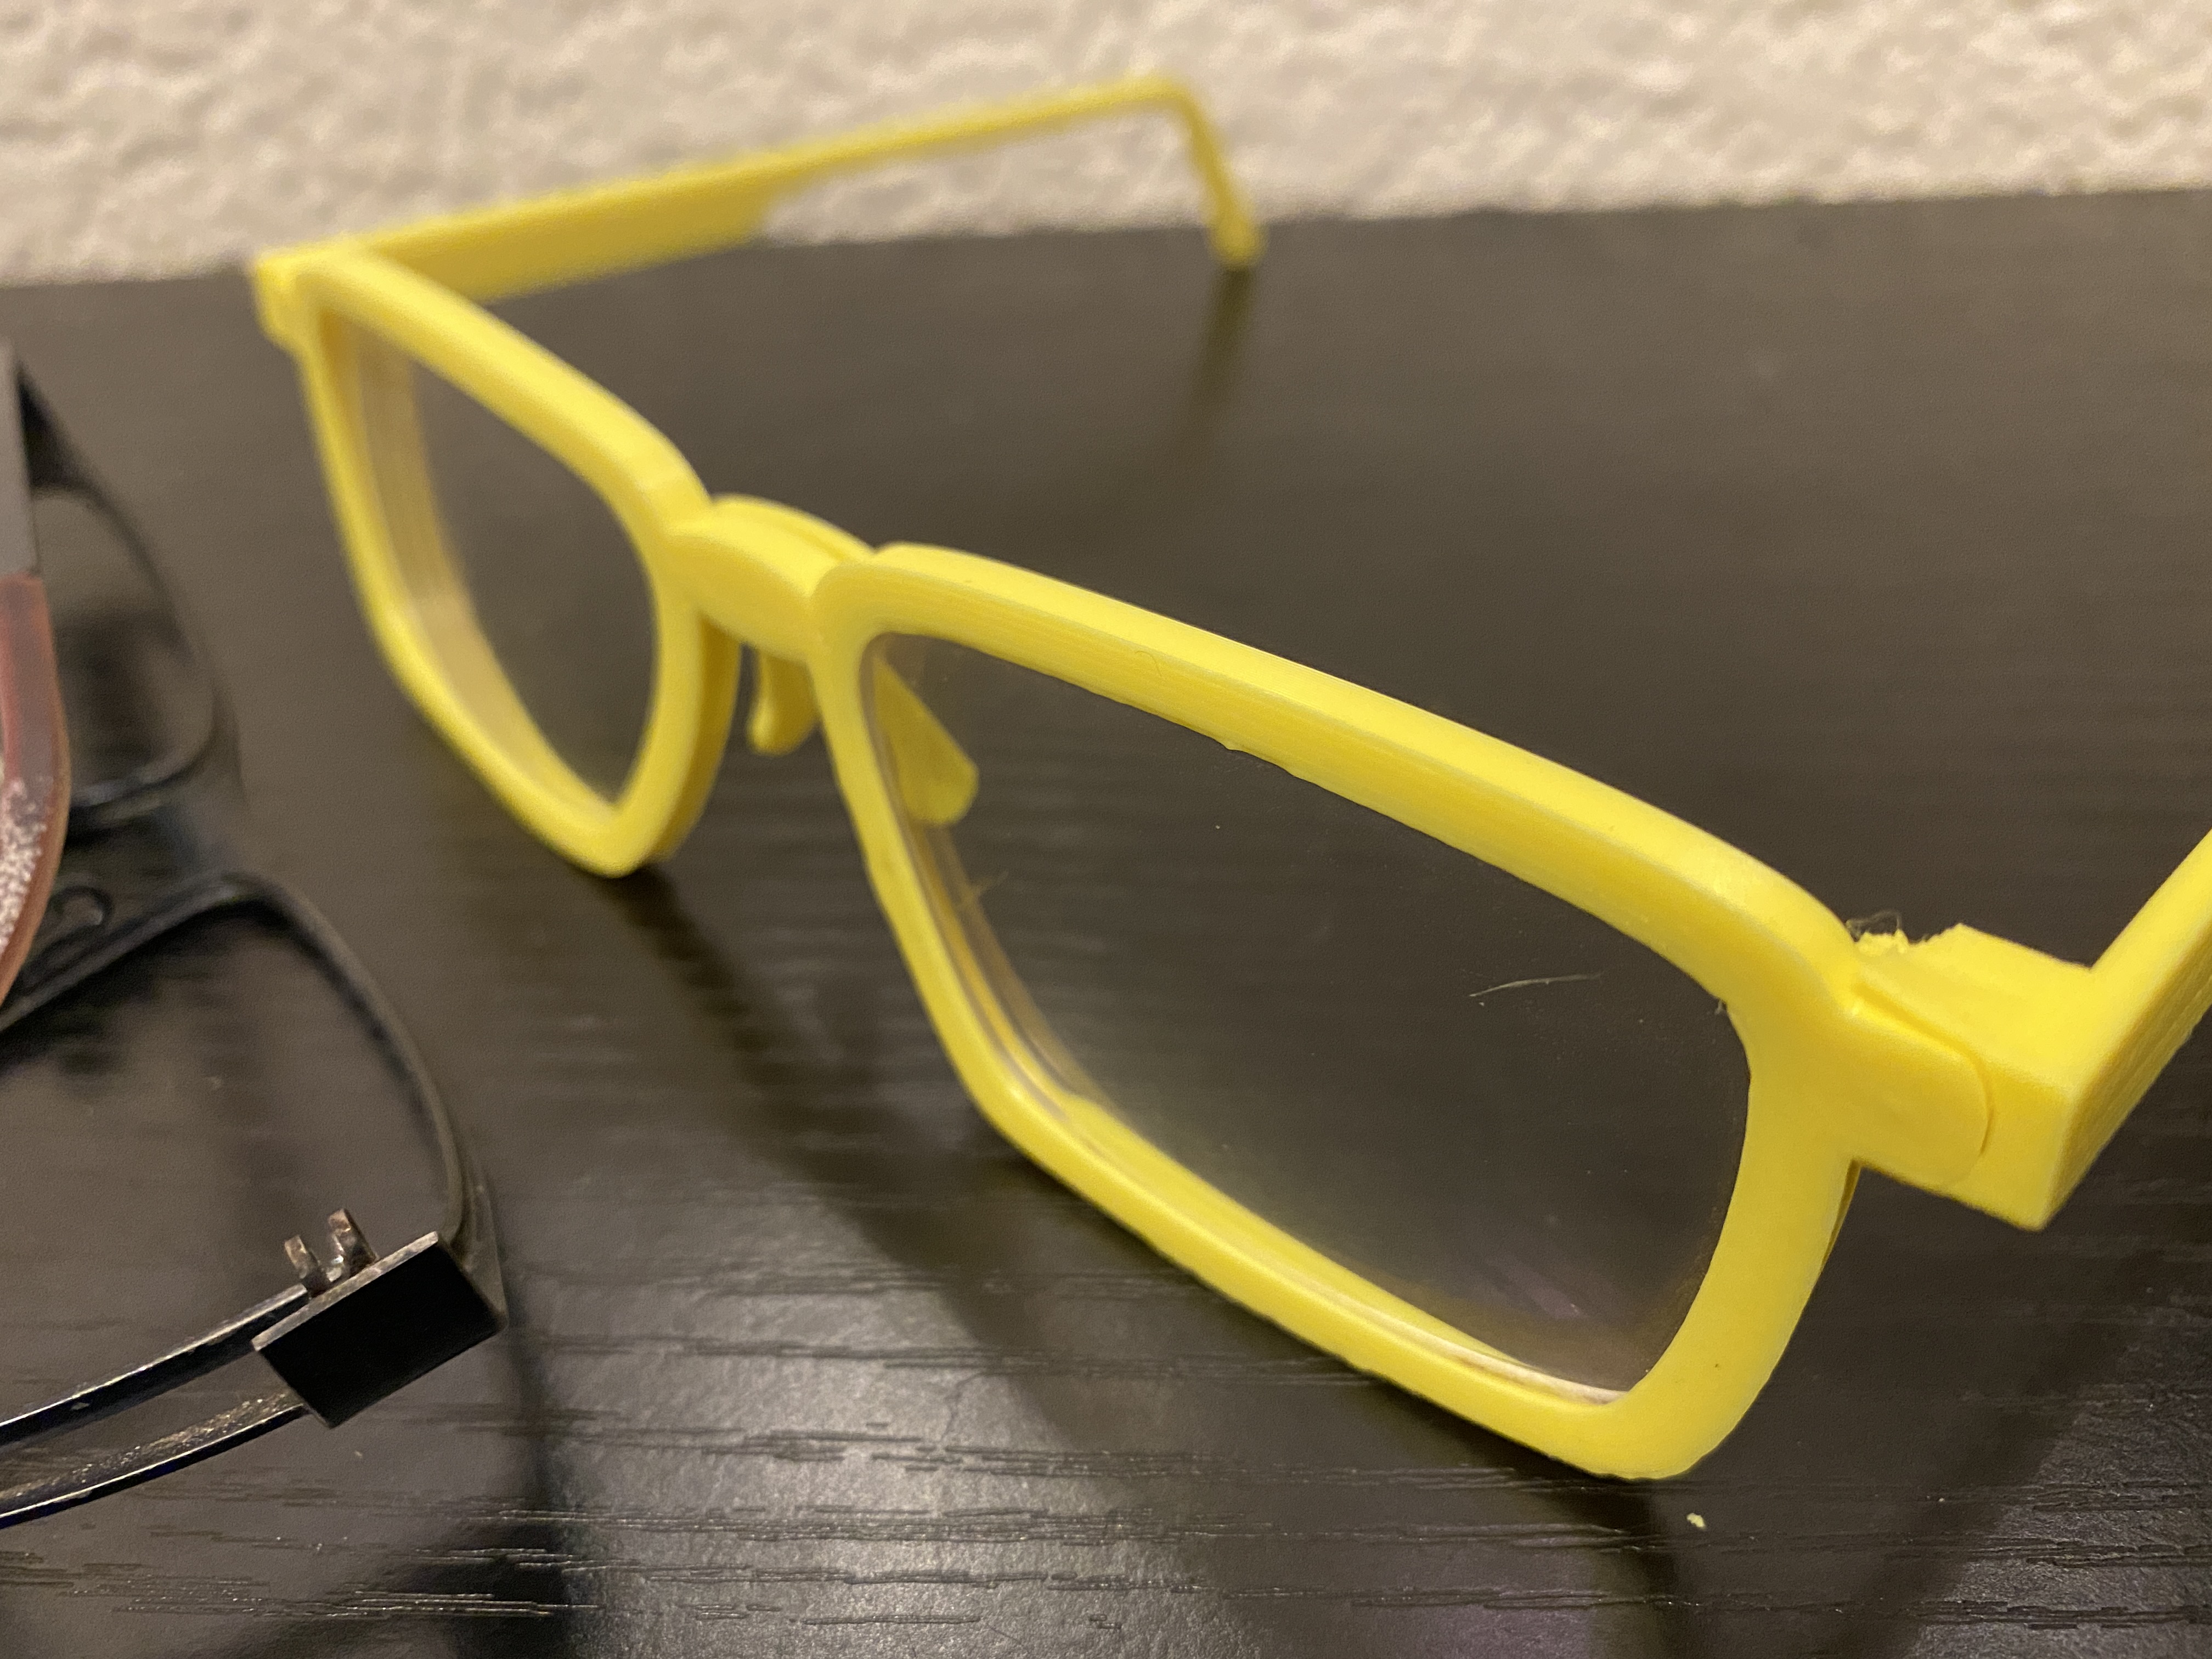
For those of us who wear glasses, being without them is a no-go! My old pair broke a while back, but I decided to "see" if I could fashion a repair using Tinkercad. I appreciate that these aren't suitable for everyone, as they only suit the lenses I had to work with, so here is the process and end result. For those that have them, the frames these lenses came out of are a "Specsavers Titan".
For those wanting to attempt a repair themselves, these are the steps I took using Tinkercad:
- Take the lens and trace around it onto a bit of plain white paper. Scan it and load it up on your PC or Mac.
- Tidy up the picture to give a neat-ish outline of the lens - I used Paint3D in Win10, but any app will do - you want to remove any background dust and the like, and fill the outline to a solid shape with the bucket tool.
- Use a convertor like convertio.co to convert the .jpg/.png image of the lens into a .svg file. Just google “convert png to svg” and you'll find a site to do the job.
- Once the .svg is downloaded, fire up Tinkercad and import the svg. It is likely very big, so scale it at the import screen, just to get it into Tinkercad
- Once I had mine in Tinkercad I sized it down to the dimentions of my actual lens. I found that the edges of my hand traced image were quite rough, so I used the circle tool to smooth out the lens and then combined it into a single smooth piece the size and shape of the lens - I uploaded a few images of Tinkercad to show what I mean.
- With the lens shape there, I now duplicated it several times, resized it and aligned it to make the cavity of one side of the frame.
- Once I was happy with the single eye piece, I duplicated it and mirrored it for the second side, spacing it out to the overall width of the old frames.
- From there, I used the standard shapes to build the arms and the nose piece.
- To hold it all together, I made parts on the arms and nose piece overhand into the frame section so that they could hold the lenses in place once assembled.
- When happy with the outline, I printed the parts flat - I could see that the lenses are curved, but rather than try to design the frames to match the curve, I printed them flat and heated the bed up to 75 degrees to allow me to shape the frames to the lenses after they were printed - this worked okay, but wasn't perfect.
- Three small screws hold the arms and nose piece to the frame.
All in all, these were a fun repair that took an afternoon to create in Tinkercad and to print. I printed them at .2 layers with 100% infill.
I went bright yellow because I didn't want a pair of black frames that just look terrible - the yellow ones get lots of comments, like “what's with the glasses” and it's always a great conversation starter to say “You like them? I printed them myself”
Eye Glasses Frame Replacement - Tinkercad
by StickyRib · original on Printables ↗
Fashion / Men
♥ 86⬇ 561🖨 1 prints
Print profiles
specs_arm_r.stl
⏱ time and weight estimated after preparation · 1 material(s)
Made to order: we prepare this file when you order, which adds a few minutes before printing starts.
Prints on: A1 mini 0.4PLA
Order this print
specs_arm_l.stl
⏱ time and weight estimated after preparation · 1 material(s)
Made to order: we prepare this file when you order, which adds a few minutes before printing starts.
Prints on: A1 mini 0.4PLA
Order this print
specs_frame.stlDEFAULT
⏱ time and weight estimated after preparation · 1 material(s)
Made to order: we prepare this file when you order, which adds a few minutes before printing starts.
Prints on: A1 mini 0.4PLA
Order this print
specs_nose.stl
⏱ time and weight estimated after preparation · 1 material(s)
Made to order: we prepare this file when you order, which adds a few minutes before printing starts.
Prints on: A1 mini 0.4PLA
Order this print