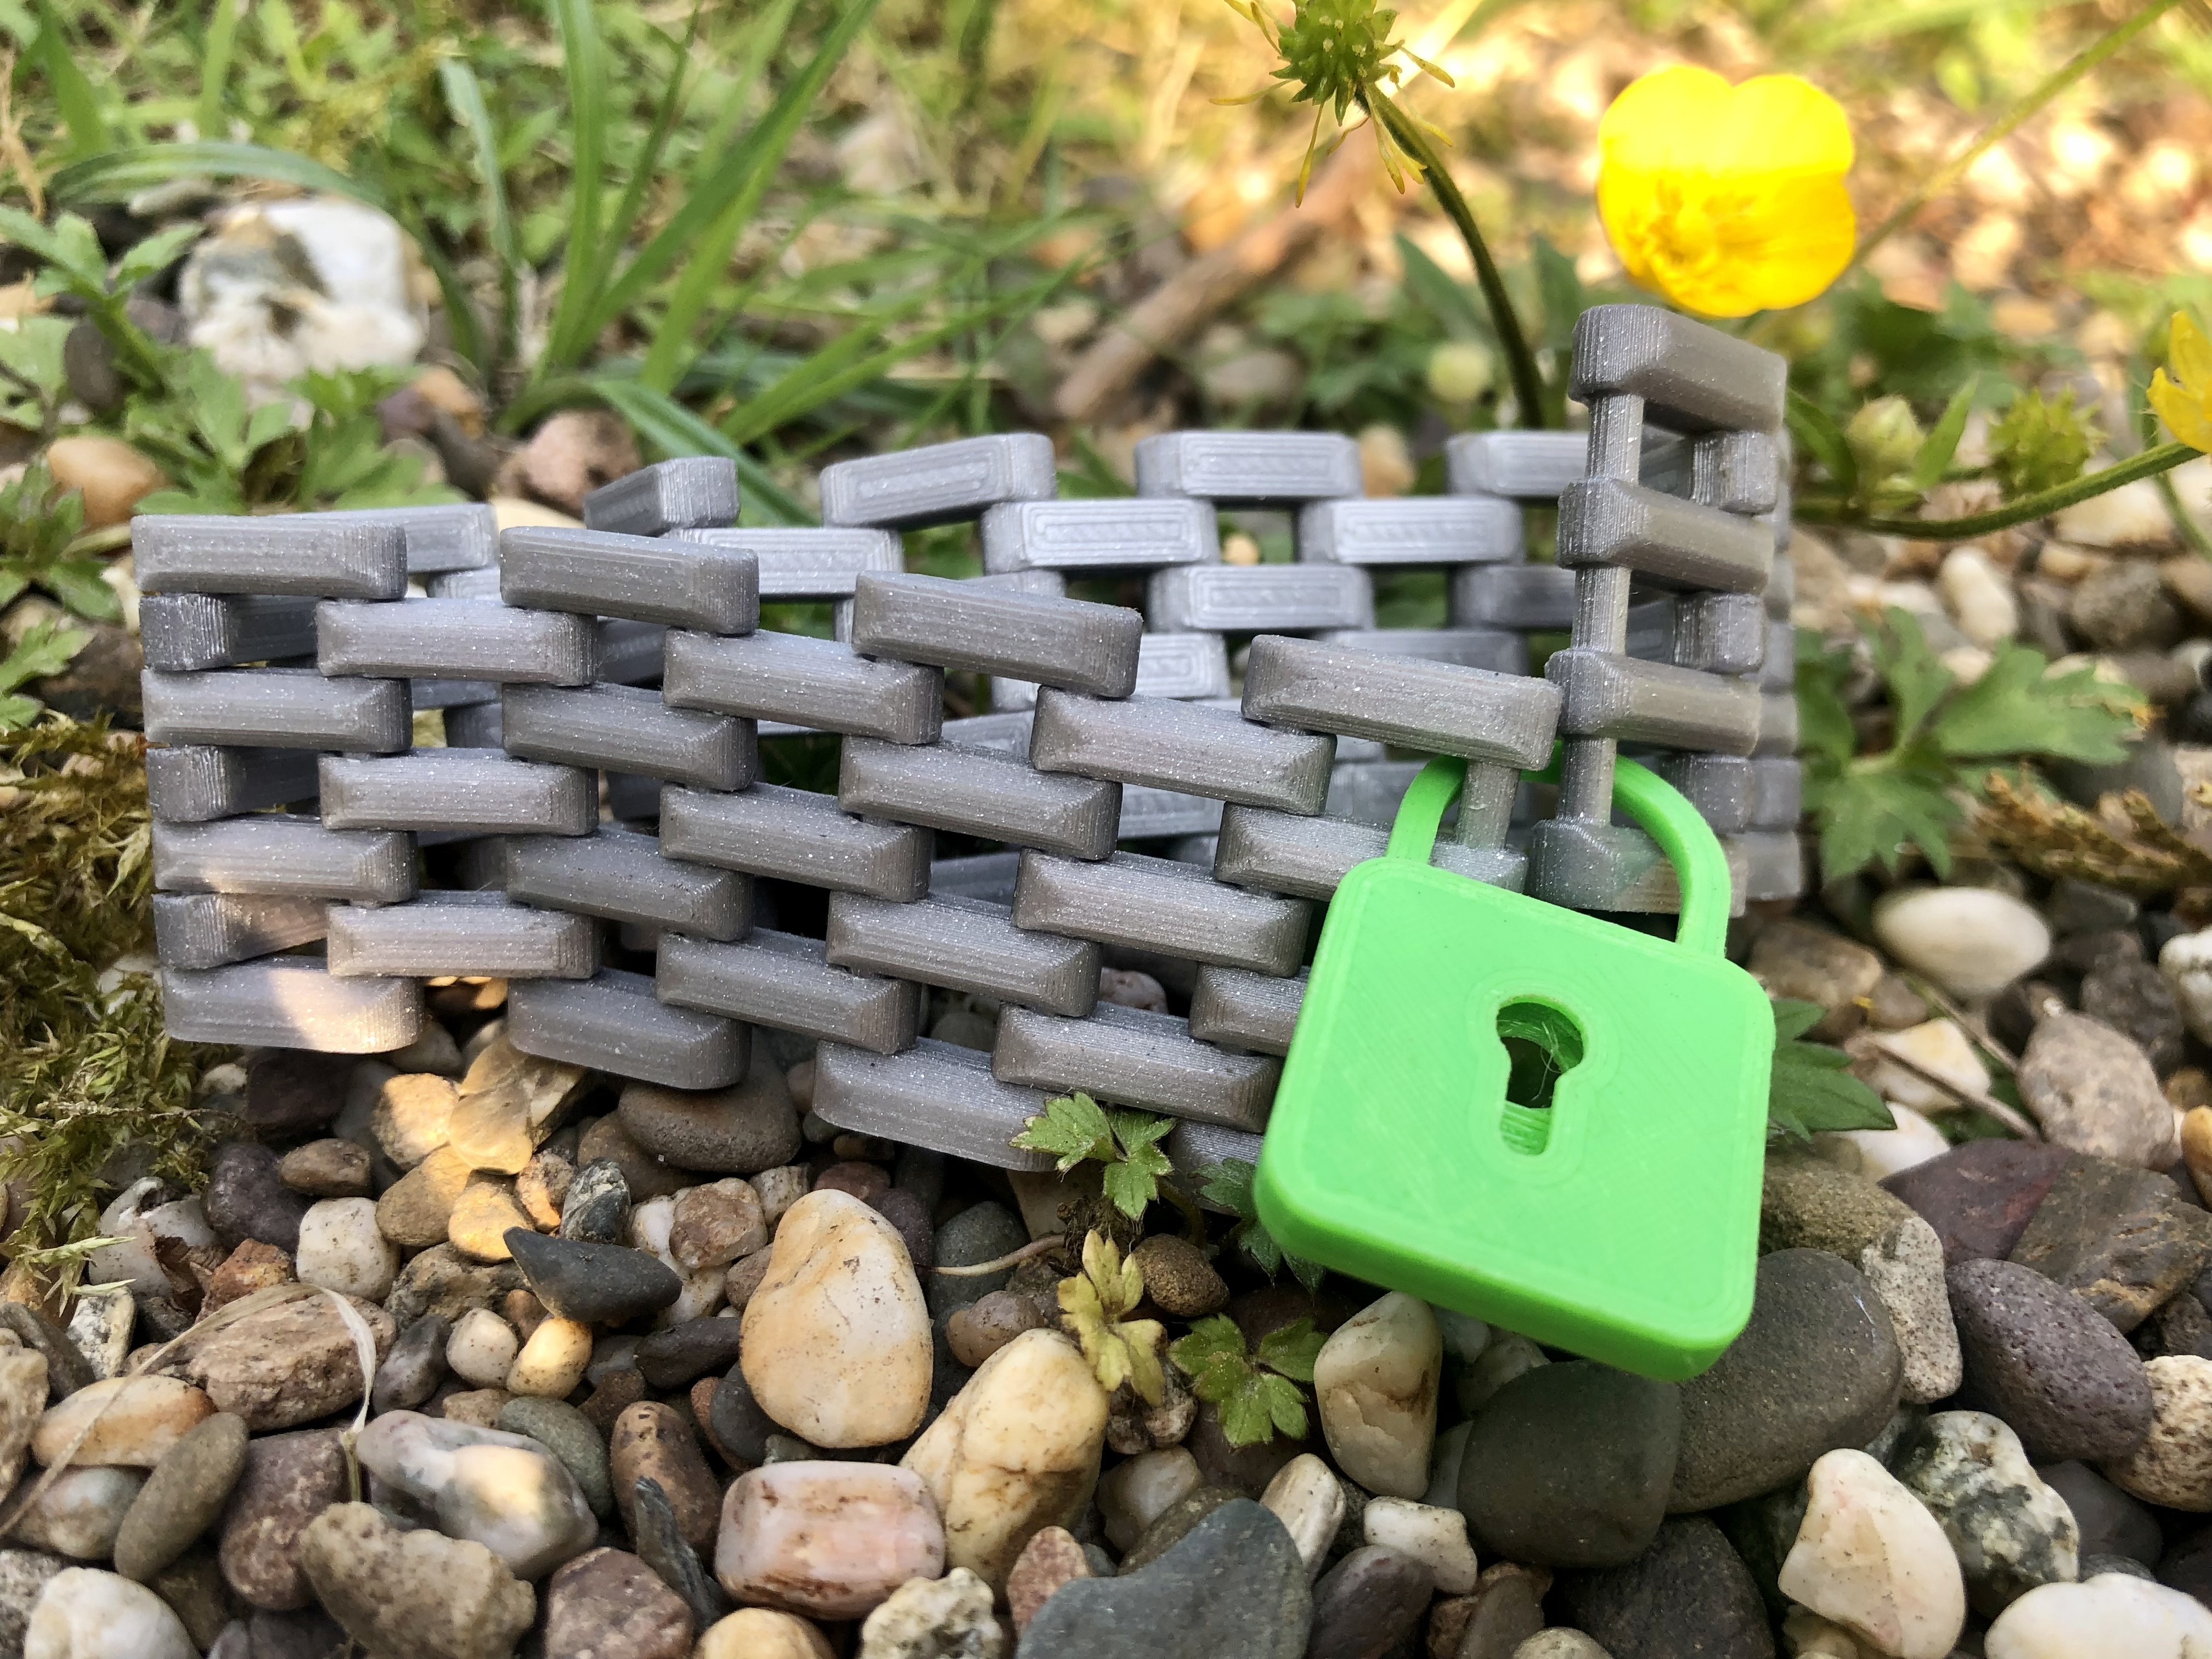
This Model only uses about 0.5 m of filament so with 5 m you can print almost ten locks!
I recommend to check out the other designs in Prusas contest. Maybe you find some other useful designs to print with your remainding filament.
The purpose of this model is mainly to showcase the mechanism and to use it as decoration.
Do NOT use it to secure your belongings! This is NO replacement for an actual lock!
Print settings/Tips:
The model orientation should be the same as in the pictures shown below. Standard settings in Prusa slicer (supports off) worked great for me but I recommend to lower your first layer speed and to use 0.1 mm layer hight (except the first layer of course). Other than that you should be ready to go!
Happy printing and remember to upload your makes ;)
Assembly:
- After removing the prints you will want to clean them / remove stringing if necessary.
- Try to loosen up the lever of the lock by applying some minor force. It should come loose very easily.
- To loosen up the spring you will want to push it a little bit to the right side. Make sure it can move freely from side to side.
- Align the cover plate with the padlock mechanism. Make sure you have them in their correct orientation. The pin should go into this hole:Push the cover with appropriate force as it is intended to be pressed in place. You should be able to do it without tools.
- Enjoy ; )
tiny padlock - print in place mechanism!
by Printineer · original on Printables ↗
Learning / Engineering
♥ 116⬇ 630🖨 7 prints
Print profiles
tiny padlock - print in place mechanism.3mfDEFAULT
⏱ time and weight estimated after preparation · 1 material(s)
Made to order: we prepare this file when you order, which adds a few minutes before printing starts.
Prints on: A1 mini 0.4PLA
Order this print