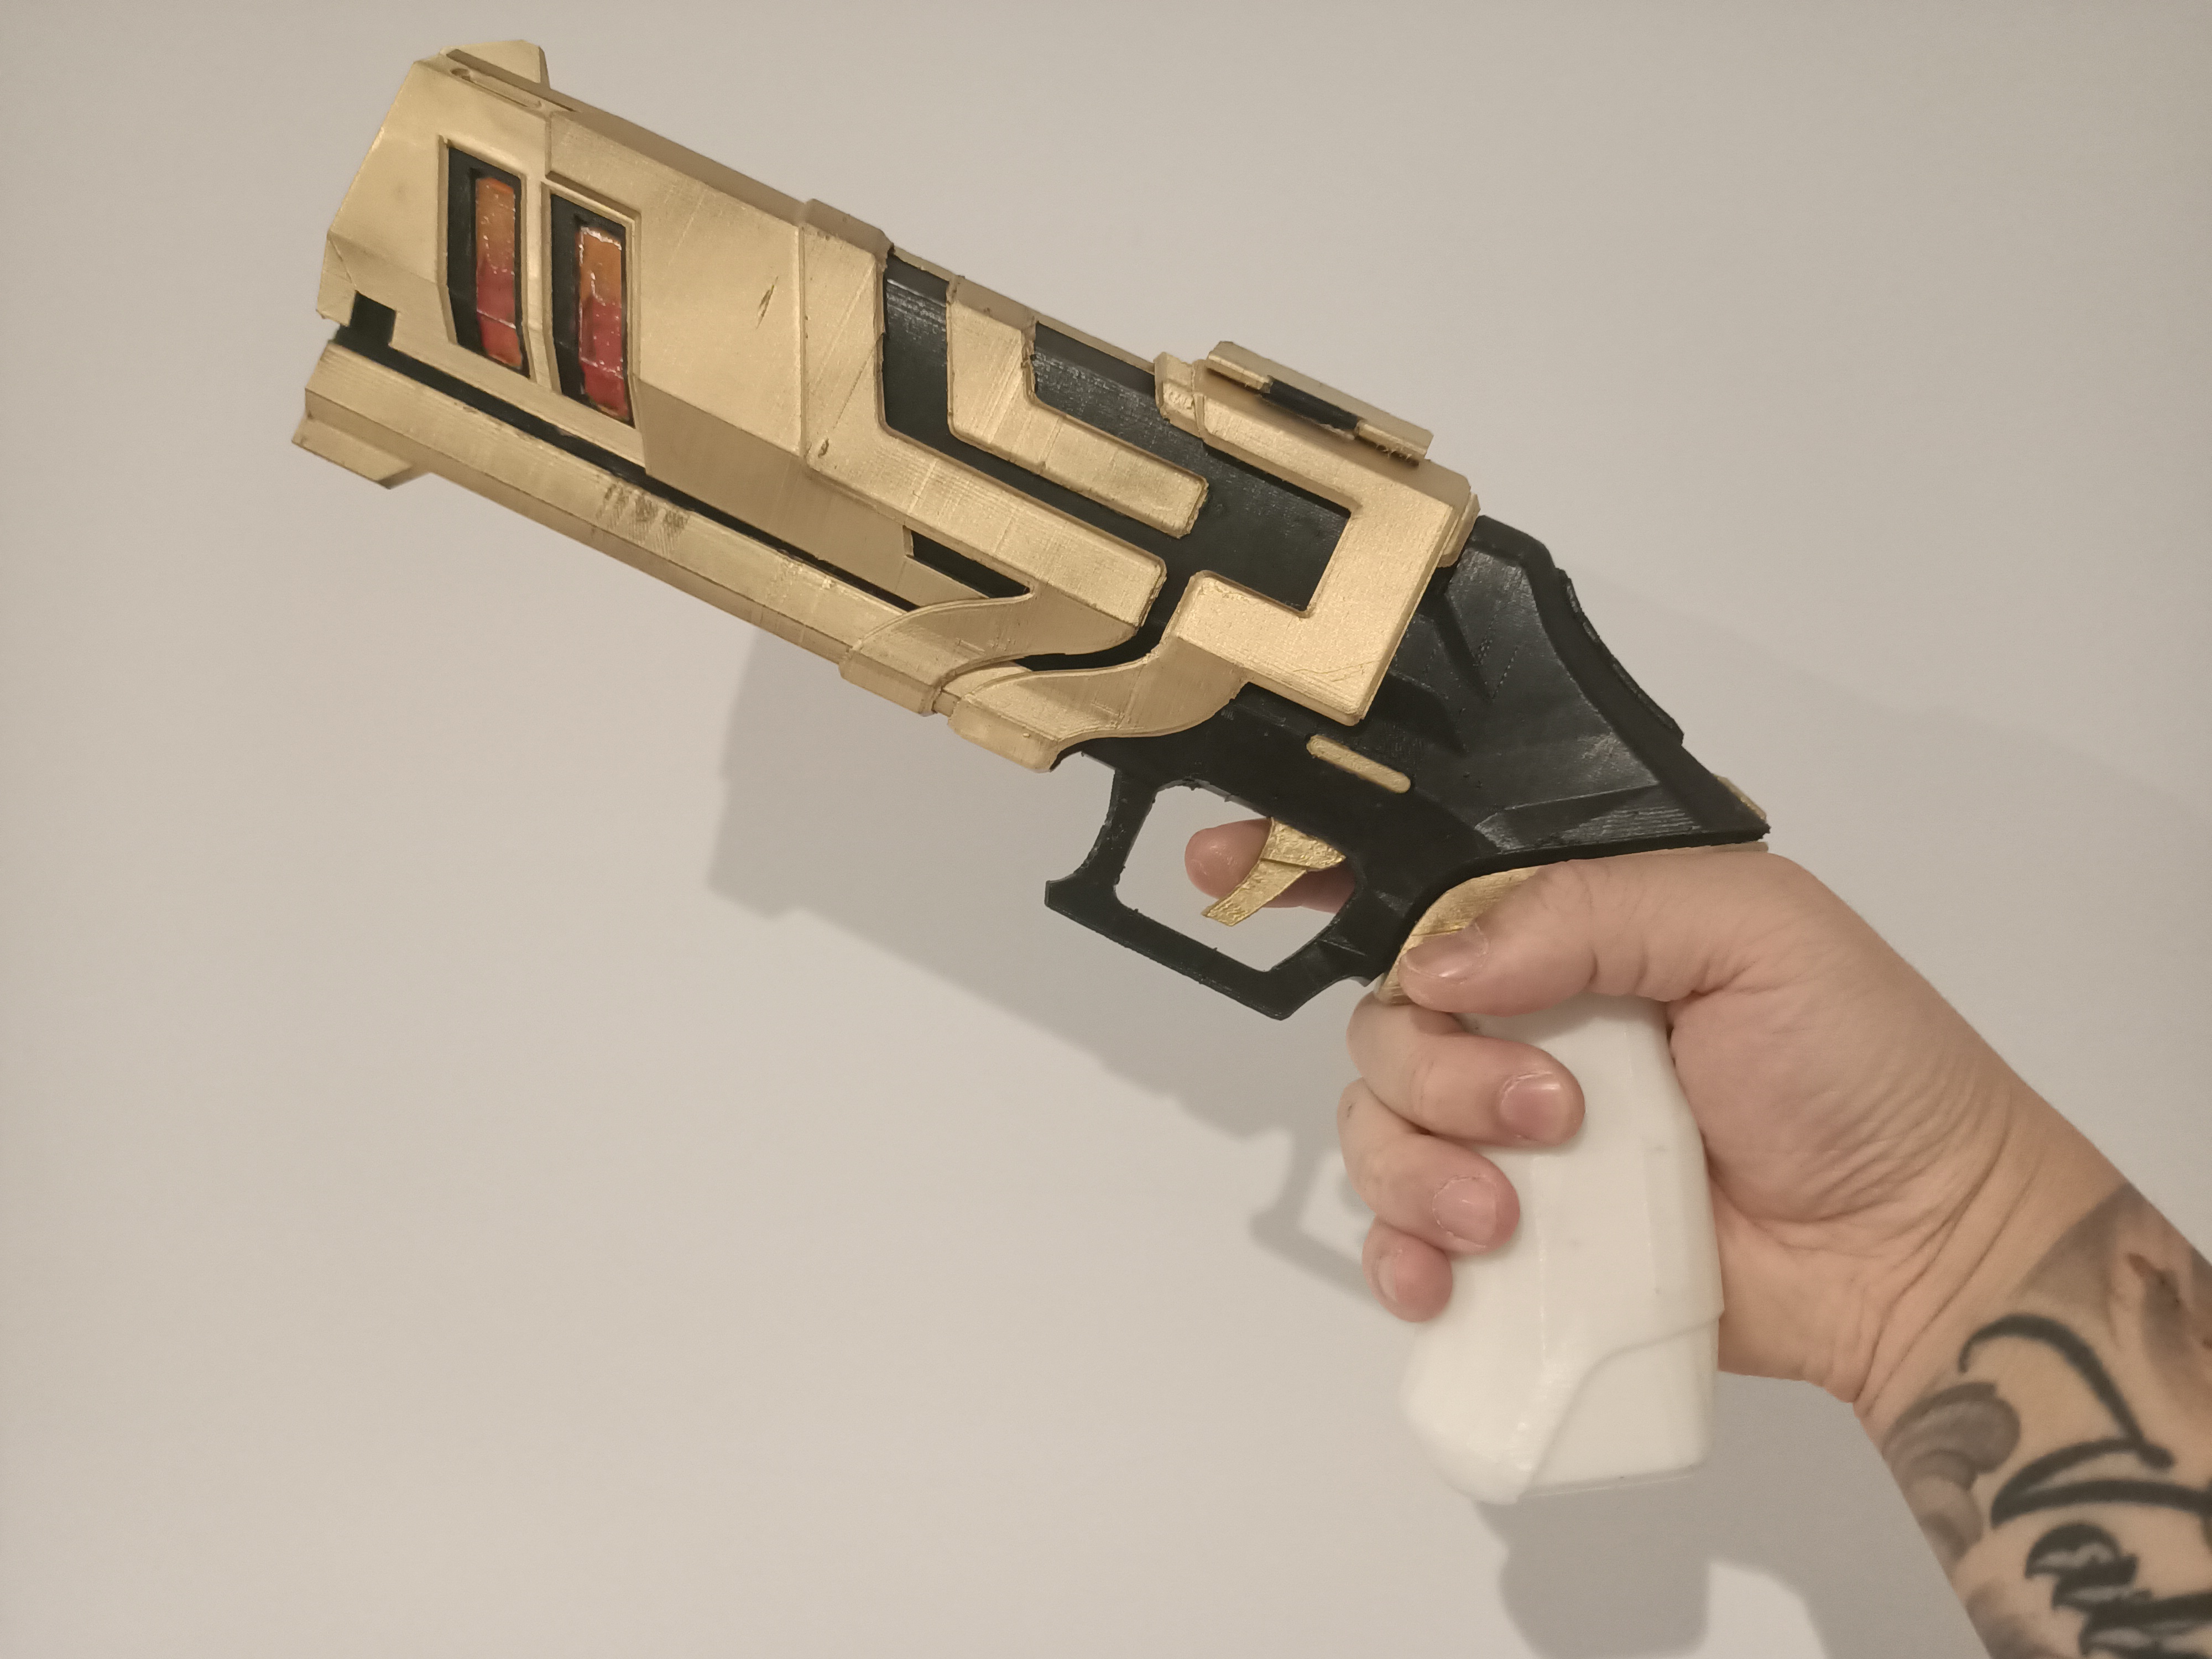
This is a multi-part version of Chamber's Headhunter heavy pistol that I have split into the 3 component colours of the stock appearance: gold, black, and white.
Print settings in image
0.15mm layer height (you can get away with 0.2mm)
15% infill
Will require supports
No rafts but a brim is recommended
Requires 4 pins to connect the barrel-receiver-pistol grip
Dimensions
Total assembled it should be about 340mm (L) x 177mm (H) x 39mm (W) with the flaps in the down position.
Orientation
See image gallery for part orientation. You might want to great a larger footprint of support material just as a preventative measure from it coming loose from the print bed as some parts will have thin walls.
Assembly
Slide Outer 1 (the front section) from the front of the barrel. The front site on the outer should slide into the notch on the front.
Slide Outer 2 (the ribbed section) onto the barrel from behind. This will be a close fit and will require a bit of force to slide into place. The front section where it meets the front sight may tip up and will need a bit of force to “click” into place (recommend you glue before clicking).
Attach the 3 accent pieces and trigger (trigger goes in back corner first) to the receiver.
Attach the pistol grip to the receiver (mask and paint before attaching grip to receiver).
Attach the receiver/grip combo to the back of the barrel.
Place the rear sight on top. It should butt up against the top of the receiver.
Carefully open up the rear sight detailing piece and insert from below. This piece should also butt up against the receiver (you can have either with flaps up or down).
The front of the barrel has spots for accents. You can install the provided parts or use a Gundam gold marker to fill in those spots.
Paints
I used Tamiya TS-21 Gold (or TS-87 Titanium Gold for a lighter, duller gold) for the gold pieces. Red and orange paint for the weapon charge slots in the front and the meter on the receiver but not needed. But of course you're welcome to do change the colour scheme to your liking.
Notes
1. Why did I make the ribbed (mid) section as a single piece rather than individual parts?
Mainly to 1) cut down on the number of parts to be printed, 2) to avoid placement and alignment issues between side, and 3) some parts don't have much surface area for you to glue to other parts while other parts have a decent air gap between it and the barrel piece.
This piece will be the most annoying for support removal so take your time.
2. Why aren't the outer pieces not 1 piece?
That's thanks to the little bump on the bottom front of the barrel part and wouldn't work as the front needs to go through the front and the looped piece gets in the way.
While this is a remix, I actually used this model as my base: https://cults3d.com/en/3d-model/game/valorant-chamber-pistol
I used Fusion 360 to make it print ready and the photo is proof it works, even if some parts are a tight fit.
EDIT (16/3/26): When I made this model I had no idea how to use fusion 360 so this model was me bumbling around until got some decent fitment. I thought I had either lost or deleted the CAD files but they seem to still survive in the fusion 360 cloud.
Valorant Chamber Headhunter Pistol
by exakel · original on Printables ↗
Costumes & Accessories / Props
♥ 228⬇ 1.9k🖨 7 prints
Print profiles
receiver.stlDEFAULT
⏱ time and weight estimated after preparation · 1 material(s)
Made to order: we prepare this file when you order, which adds a few minutes before printing starts.
Prints on: A1 mini 0.4PLA
Order this print
pistol grip.stl
⏱ time and weight estimated after preparation · 1 material(s)
Made to order: we prepare this file when you order, which adds a few minutes before printing starts.
Prints on: A1 mini 0.4PLA
Order this print
pin x4.stl
⏱ time and weight estimated after preparation · 1 material(s)
Made to order: we prepare this file when you order, which adds a few minutes before printing starts.
Prints on: A1 mini 0.4PLA
Order this print
barrel_v2.stl
⏱ time and weight estimated after preparation · 1 material(s)
Made to order: we prepare this file when you order, which adds a few minutes before printing starts.
Prints on: A1 mini 0.4PLA
Order this print
front detailing_small.stl
⏱ time and weight estimated after preparation · 1 material(s)
Made to order: we prepare this file when you order, which adds a few minutes before printing starts.
Prints on: A1 mini 0.4PLA
Order this print
outer_mid.stl
⏱ time and weight estimated after preparation · 1 material(s)
Made to order: we prepare this file when you order, which adds a few minutes before printing starts.
Prints on: A1 mini 0.4PLA
Order this print
outer_front.stl
⏱ time and weight estimated after preparation · 1 material(s)
Made to order: we prepare this file when you order, which adds a few minutes before printing starts.
Prints on: A1 mini 0.4PLA
Order this print
rear sight.stl
⏱ time and weight estimated after preparation · 1 material(s)
Made to order: we prepare this file when you order, which adds a few minutes before printing starts.
Prints on: A1 mini 0.4PLA
Order this print
receiver detail left.stl
⏱ time and weight estimated after preparation · 1 material(s)
Made to order: we prepare this file when you order, which adds a few minutes before printing starts.
Prints on: A1 mini 0.4PLA
Order this print
Trigger.stl
⏱ time and weight estimated after preparation · 1 material(s)
Made to order: we prepare this file when you order, which adds a few minutes before printing starts.
Prints on: A1 mini 0.4PLA
Order this print
front detailing_big.stl
⏱ time and weight estimated after preparation · 1 material(s)
Made to order: we prepare this file when you order, which adds a few minutes before printing starts.
Prints on: A1 mini 0.4PLA
Order this print
receiver detailing rear.stl
⏱ time and weight estimated after preparation · 1 material(s)
Made to order: we prepare this file when you order, which adds a few minutes before printing starts.
Prints on: A1 mini 0.4PLA
Order this print
receiver detail right.stl
⏱ time and weight estimated after preparation · 1 material(s)
Made to order: we prepare this file when you order, which adds a few minutes before printing starts.
Prints on: A1 mini 0.4PLA
Order this print
front bottom_v2.stl
⏱ time and weight estimated after preparation · 1 material(s)
Made to order: we prepare this file when you order, which adds a few minutes before printing starts.
Prints on: A1 mini 0.4PLA
Order this print
Barrel detailing rear_closed flap.stl
⏱ time and weight estimated after preparation · 1 material(s)
Made to order: we prepare this file when you order, which adds a few minutes before printing starts.
Prints on: A1 mini 0.4PLA
Order this print
Barrel detailing rear_open flap.stl
⏱ time and weight estimated after preparation · 1 material(s)
Made to order: we prepare this file when you order, which adds a few minutes before printing starts.
Prints on: A1 mini 0.4PLA
Order this print