8/6/2026: I received a report that the Tinkercad QR code generator is not working. You can still make your sign with an external QR code generator source. I suggest the following workaround:
-Use an external resource to generate a bitmap QR code (if you are an iPhone user my goto for this is the QR code generator that is available in the Shortcuts app, but there are plenty of web sites and other ways to do it)
-Convert the bitmap to SVG (I use the free Inkscape app for this)
-Import the SVG into Tinkercad
-Proceed from there as if you were working with the Tinkercad-generated QR code.
You can also use your QR code SVG as follows:
-Download the sign panel from Tinkercad as an STL
-Load the sign panel STL into Prusaslicer
-Right click the sign panel and select Add Part>Load...
-Load the QR code SVG as a part attached to the sign panel
-Resize and position the QR code as desired on the panel. The project uses 64x64mm for the QR code XY size. I suggest positioning the QR code about 0.4-0.8 mm above the panel to help ensure the gaps get filled when the QR code is printed after the filament change. If the QR code is too high, it might be difficult to decode the QR code when scanning it from an angle.
12/29/2022: I updated and simplified these instructions. This version uses the QR Code generator that is available in Tinkercad which greatly simplifies the process.
I also posted a version of the sign that uses embedded magnets: click here to view
---
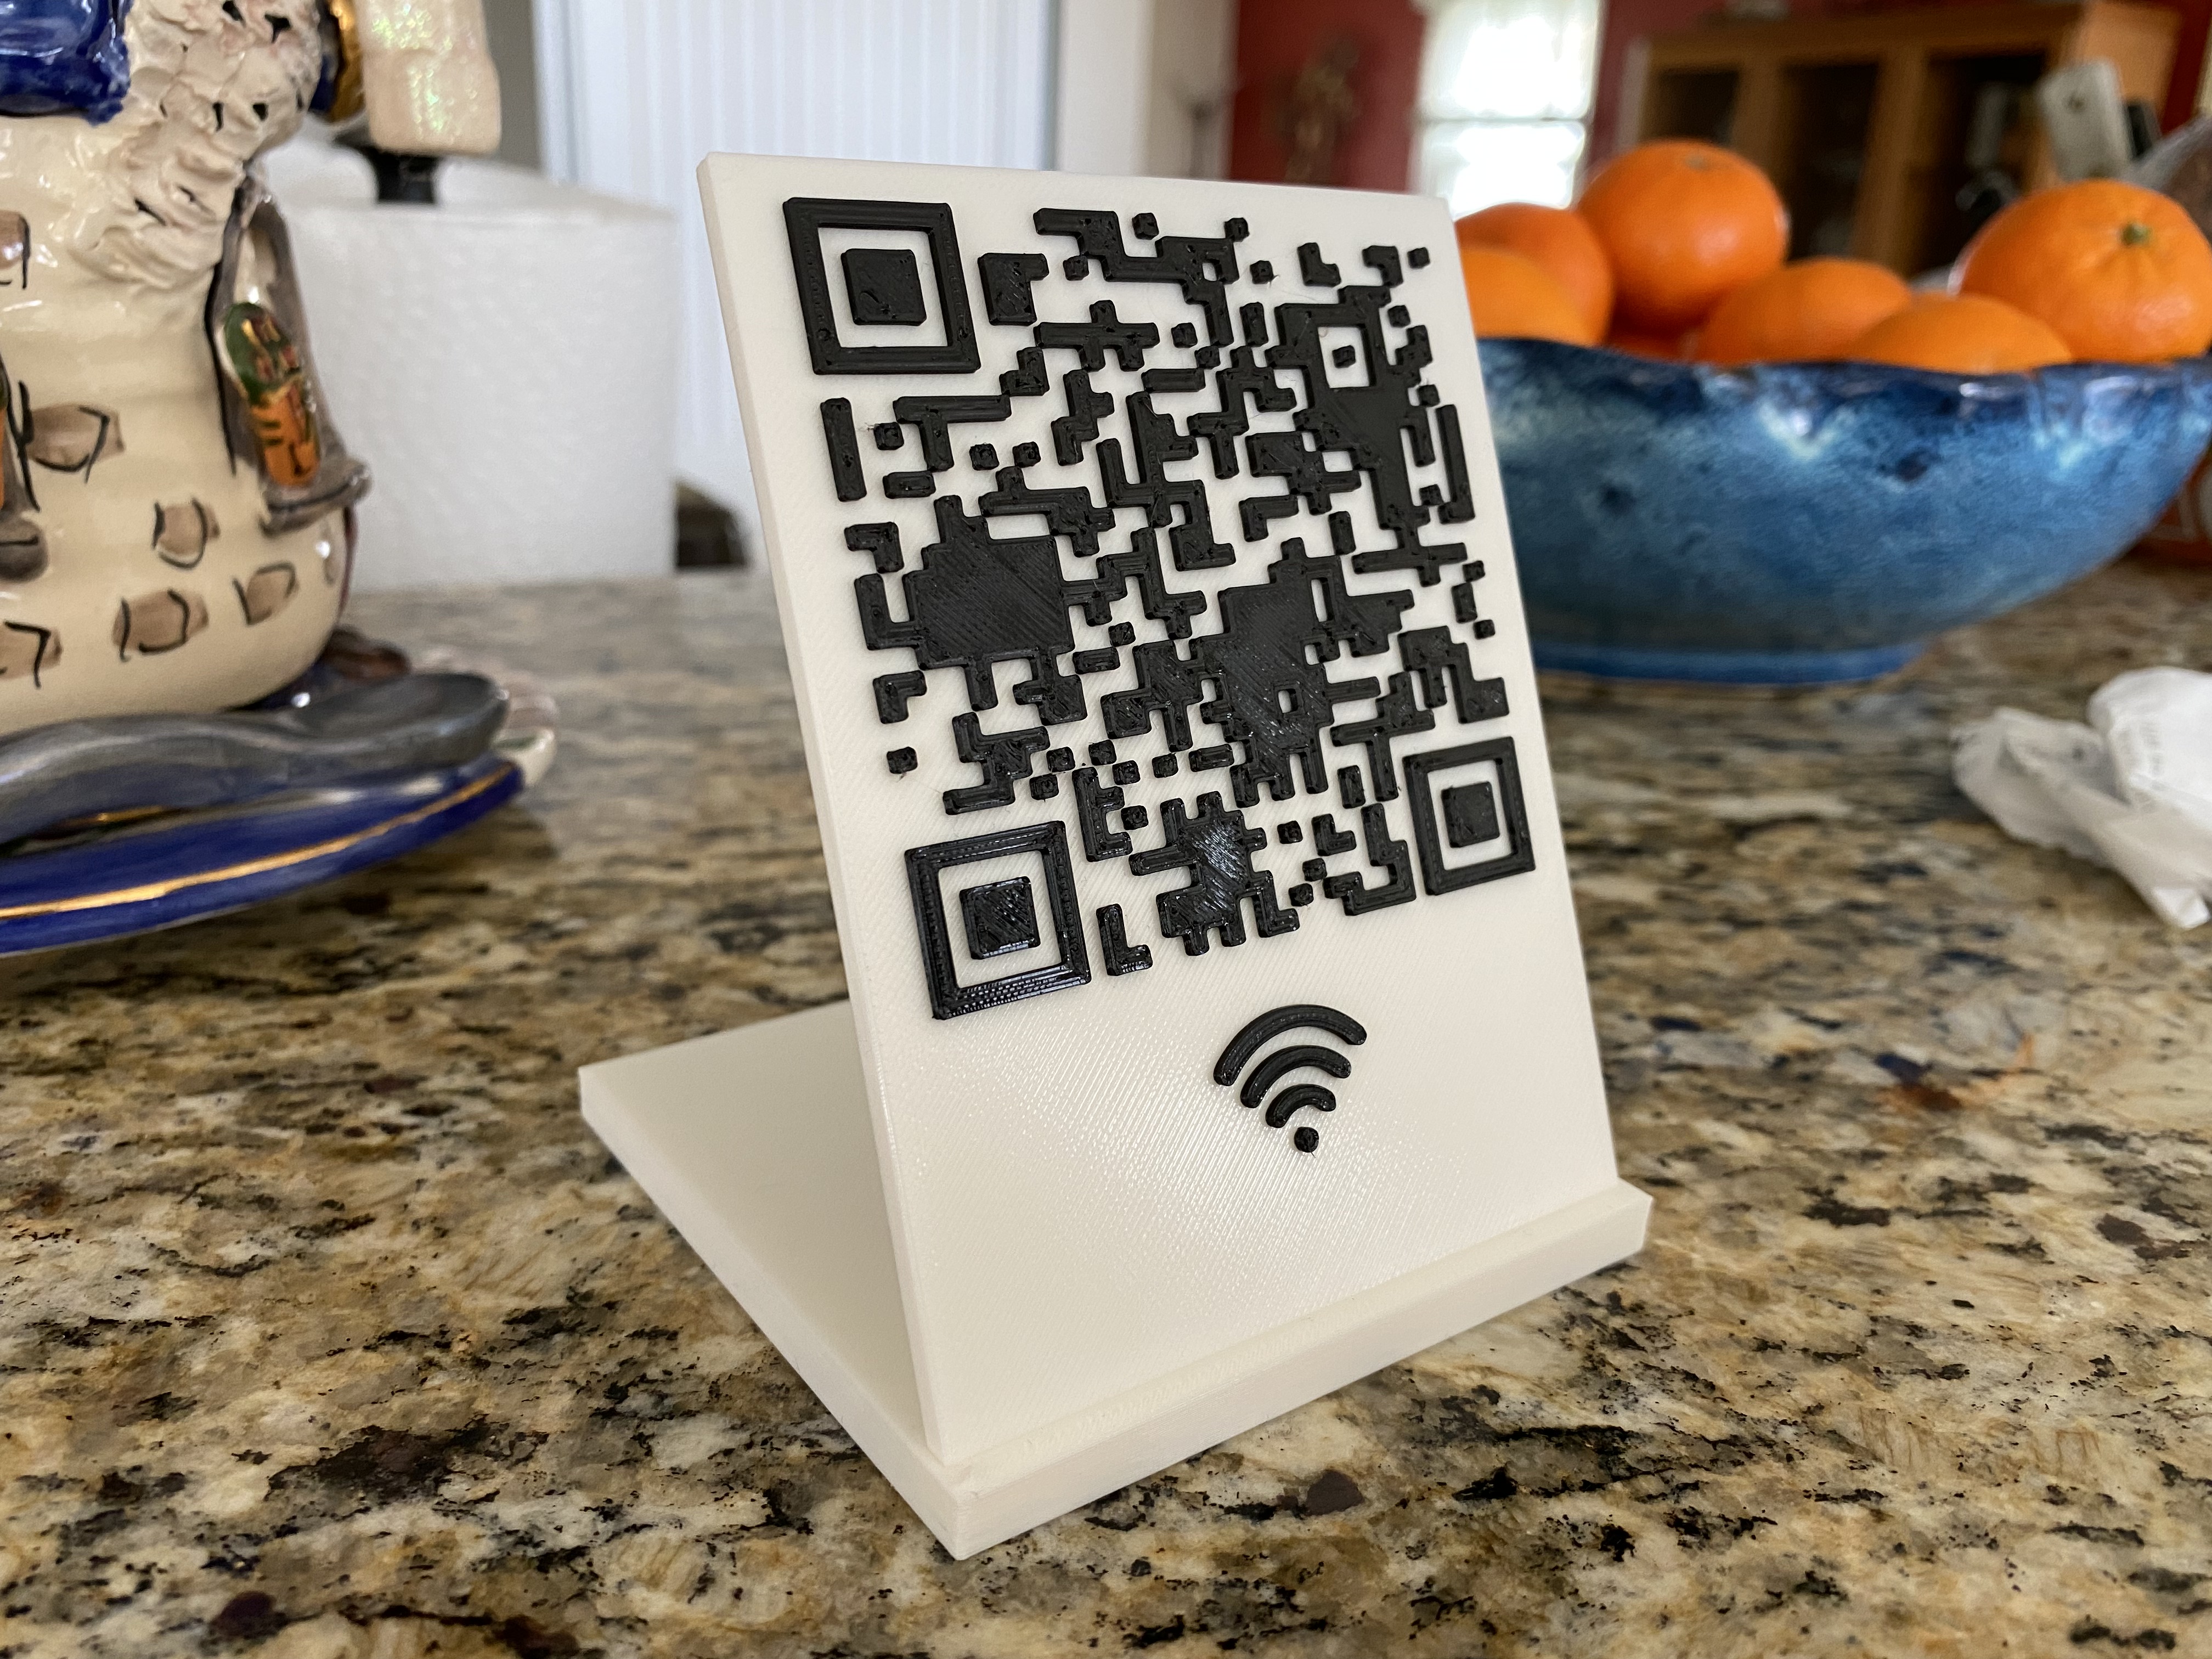
This is a simple and elegant WiFi sign with a stand that you can use to share your WiFi hotspot SSID and passcode with your guests. Most iOS and Android devices should be capable of interpreting the QR code and will connect to the WiFi network without manual selection of the hotspot or manual entry of the passcode.
Note that your WiFi SSID and passcode are available to anyone who has the QR code. This is not a major security risk but it is something that you should know.
To make your own sign:
Copy this Tinkercad file into your Tinkercad profile and open it as a project: https://www.tinkercad.com/things/d68DVV0rjMC
First, take a look at how the sign is designed. There are two objects: the sign and the stand. The stand is ready to go, but you will make some changes to the sign to customize it for your network before you export.
First, select the sign, then select the Ungroup button) to separate the QR code object from the sign pane;:
Select just the QR code object. In the Properties for the QR code object, enter your WiFi information into into the Text box using this format: WIFI:S:ssid;T:WPA;P:password;; where ssid is the SSID of your WiFi network and password is your network password. Note that both are case sensitive. For more information on how this works, see https://pocketables.com/2022/01/how-to-format-that-wifi-qr-code-in-plain-text.html or Google “WiFi QR code Format”.
The sign is configured to set the top of the QR code object two layers above the panel (0.4mm) which should be sufficient to eliminate the gaps that will appear in a single layer. You can go higher if you want a more pronounced emboss effect, but don't go too high or it will only be possible to scan the code while standing directly in front of the sign.
Test the code before slicing and printing by switching Tinkercad to a top down view, then put your phone into camera mode and point the camera at the QR code on the Tinkercad screen. You should be prompted to join the network specified in the QR code properties. After you test the code, select the sign and the QR code and press the Group button to group them together:
Export the sign and the stand from Tinkercad as separate STL files. Select the sign, then press the Export button. Ensure that The selected shape is selected under Include, and press the STL button. Select the stand and do the same (or just download the 3MF stand file from this page). This will give you two separate STL files, one for the sign and one the stand. The sign uses Prusaslicer's color change option. You will need to print the sign and stand separately to use color change since the stand is thicker (taller) than the sign.
Import the sign part into Prusaslicer. Slice the sign using 0.2mm layer height. A 4mm brim is recommended to keep the corners from lifting.
Use the layer slider in Prusaslicer to select the first layer where the QR code and WiFi icon appear (if using 0.2 mm layer height, this should be 3.2 mm), then click the “+” sign on the slider to set a color change at this layer and re-slice. Use the layer slider to double check the color change point.
Once the sign is complete, print the stand.
The sign should friction fit securely into the angled slot on the stand. You can add a couple of drops of CA glue to make it permanent.
Leave a comment if you have questions and I'll be happy to assist! Post your make and please give it a Like if you are happy with your sign!
Happy Printing,
Jack
WiFI QR Code Sign
by radiojack · original on Printables ↗
Household / Home Decor
♥ 11.9k⬇ 14.3k🖨 183 prints
Print profiles
wifi stand part.3mfIN STOCKDEFAULT
⏱ 26m · 21 g · 82 × 80 × 6 mm · 1 material(s)
Prints on: A1 mini 0.4PLA
Order this print
wifi sign part.3mf
⏱ time and weight estimated after preparation · 1 material(s)
Made to order: we prepare this file when you order, which adds a few minutes before printing starts.
Prints on: A1 mini 0.4PLA
Order this print