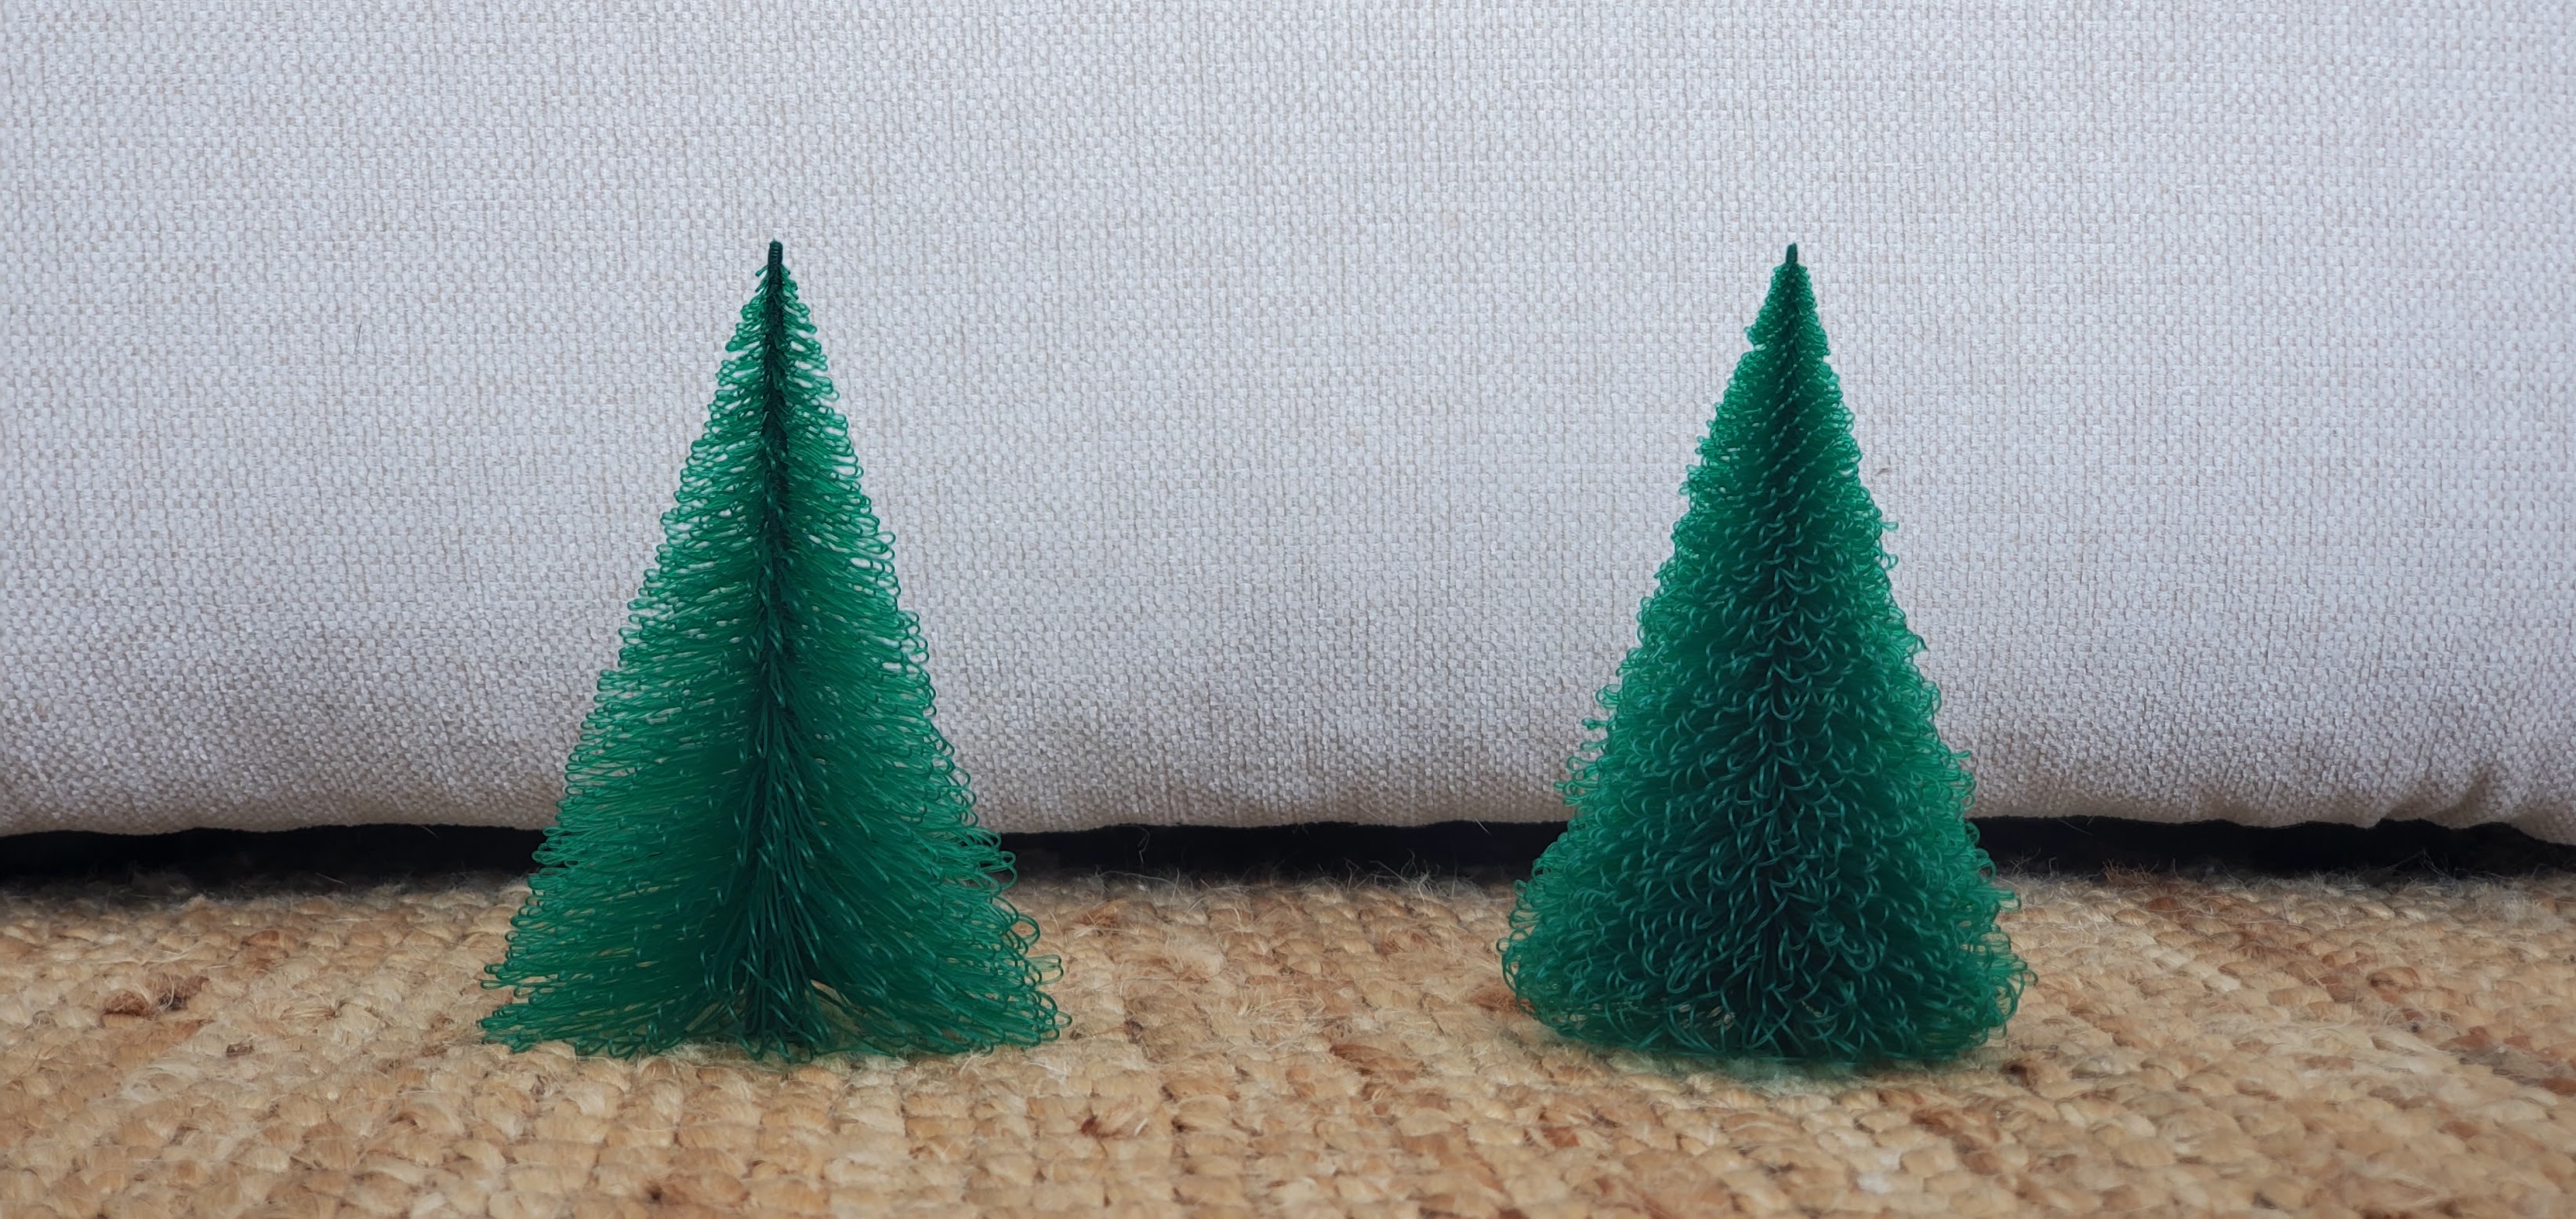
This script will generate a Christmas tree. You can change the settings in the OpenSCAD file to get a tree of the size you want. Varying the perimeter speed and fan speed will get you different effects as you can see in the picture. Less cooling makes the tree branches more curly.
The attached files are for 0.3mm layer height and 0.6mm extrusion widths. This width is the default for the Prusa 0.3mm profile.
Directions:
- Set the settings in the OpenSCAD file to the same settings you are going to use in your slicer: layer height, external perimeter extrusion width, and first layer height! This way the branches will line up with a layer exactly.
- Set the settings for the tree height, width, etc. in the OpenSCAD file.
- Generate your STL and open it in your slicer. make sure the settings in the slicer match the settings in the OpenSCAD file. Check to be sure there is not a fill perimeter being printed in the middle of the branches! If the sliced file looks like the picture below, with white lines, you need to make your external perimeter extrusion widths thicker until the white lines disappear.
- Choose your print speed and fan speed to get the desired effect: slow perimeter and high fan give you straight branches. Fast perimeter and low fan make curly branches.
- Print!
Check out the decorations for the tree:
Christmas Tree
by abekabakoff · original on Printables ↗
Seasonal designs / Winter & Christmas & New Year's
♥ 2.1k⬇ 16.4k🖨 229 prints
Print profiles
xmas tree 125mm.stlIN STOCKDEFAULT
⏱ 4h 34m · 32 g · 98 × 97 × 125 mm · 1 material(s)
Prints on: A1 mini 0.4PLA
Order this print
xmas tree 75mm.stl
⏱ time and weight estimated after preparation · 1 material(s)
Made to order: we prepare this file when you order, which adds a few minutes before printing starts.
Prints on: A1 mini 0.4PLA
Order this print