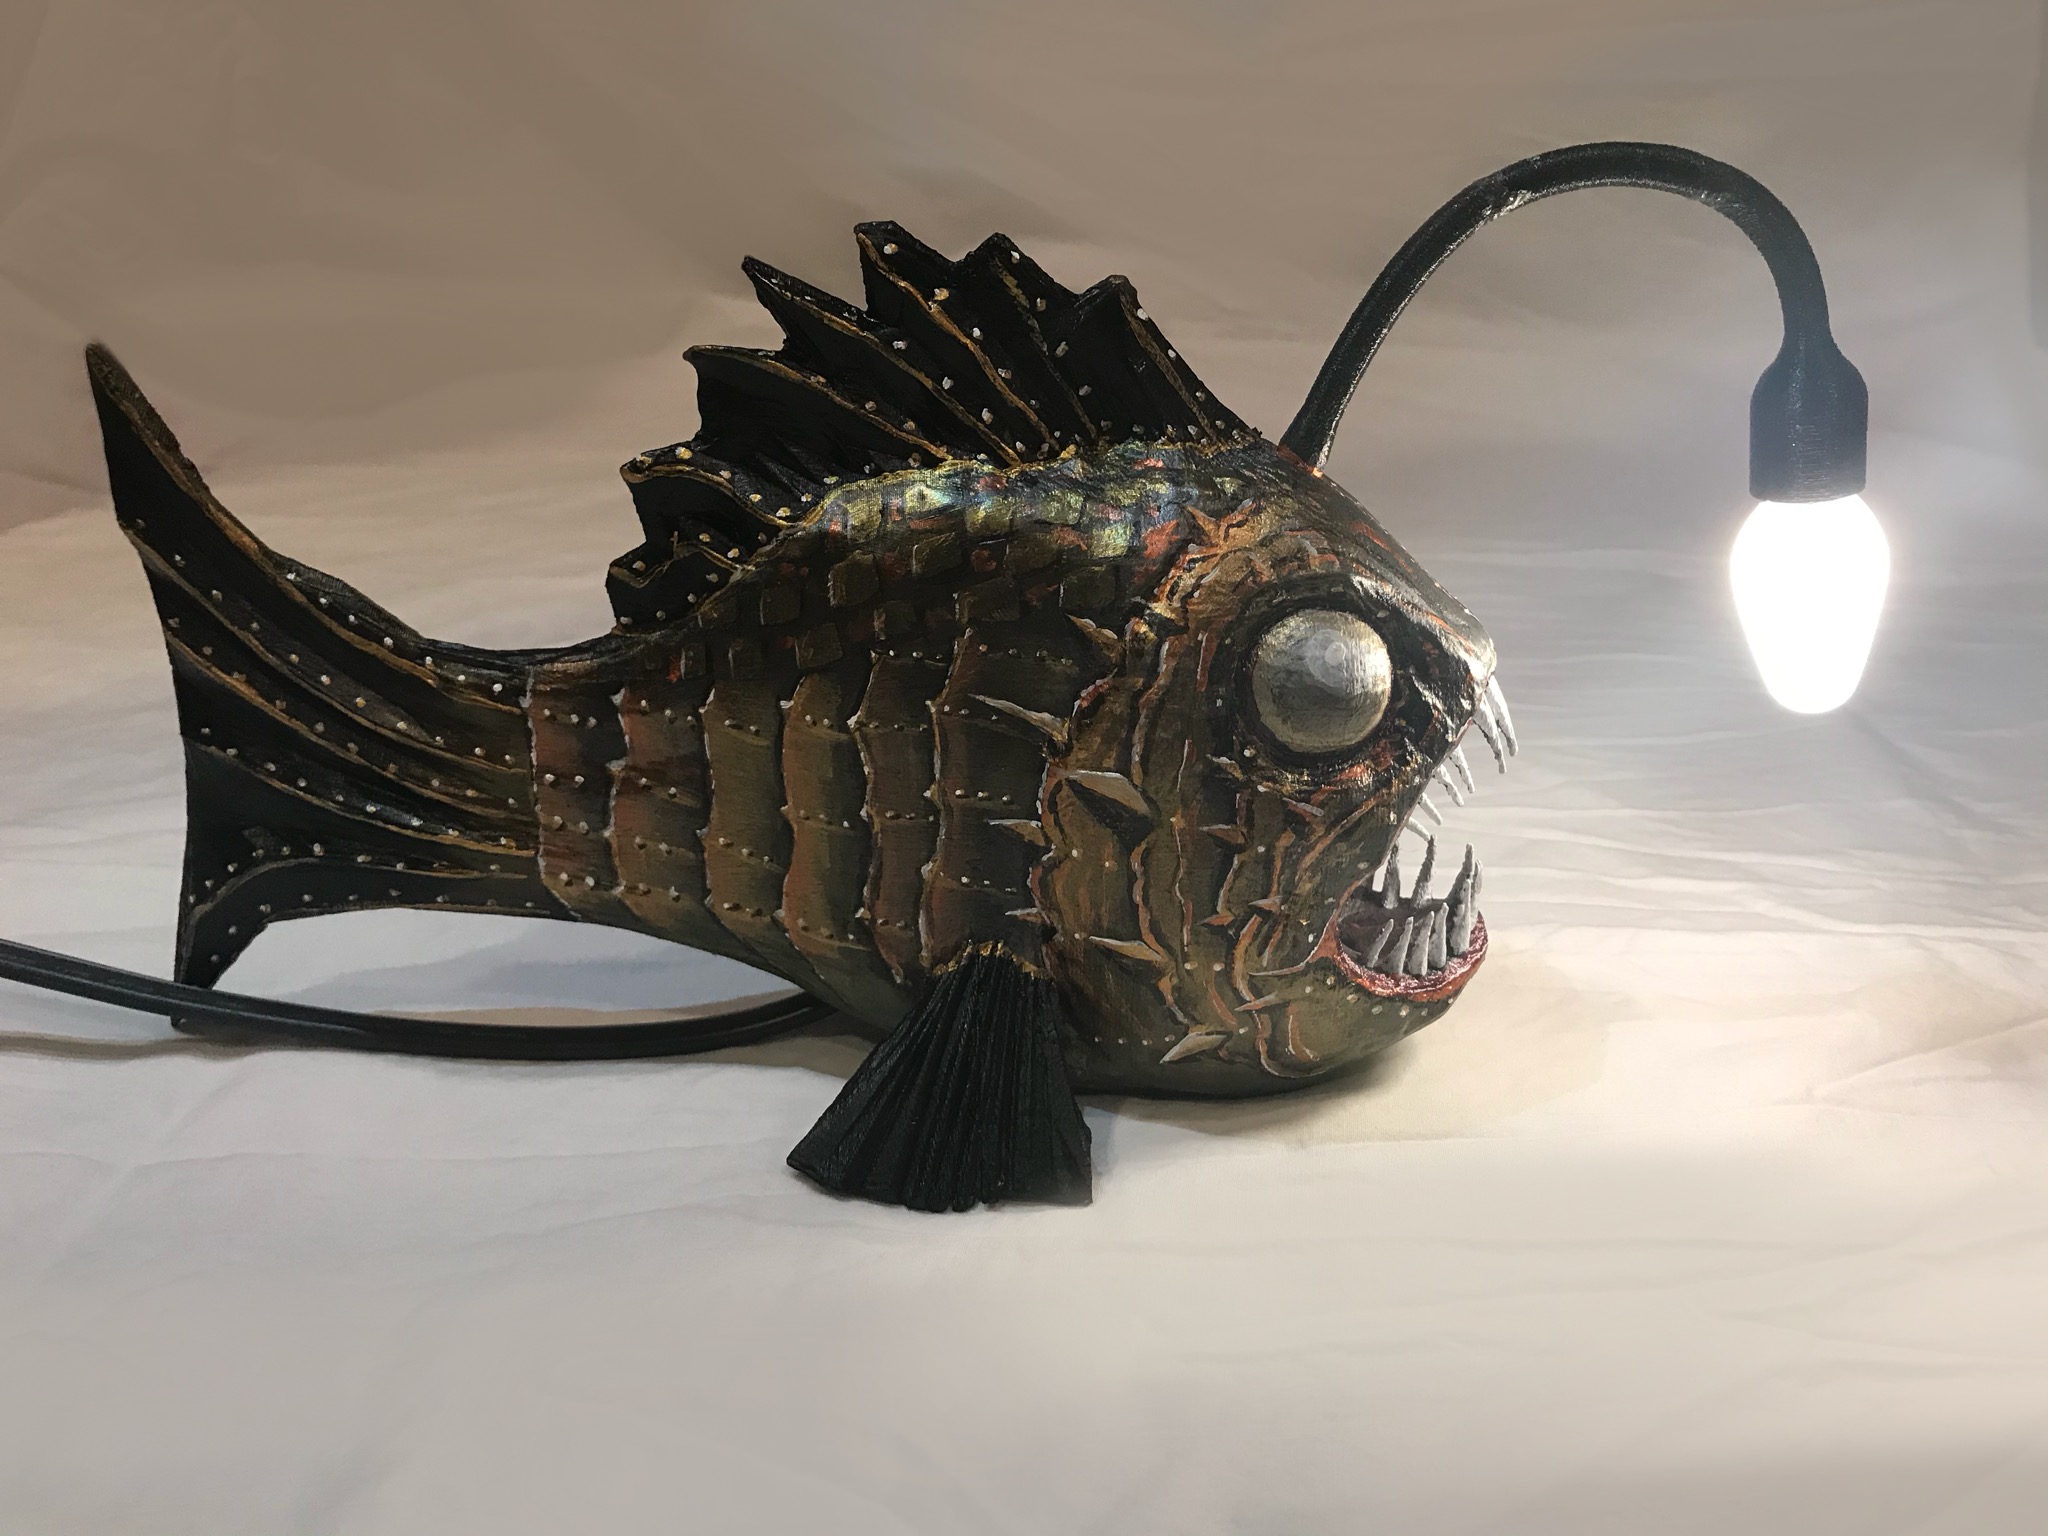
This is a model of a angler fish that I modeled myself with Blender. It uses a E12 LED bulb as a light source. Originally I wanted to incorporate a socket, but they were too bulky and I decided to solder wires directly to the bulb. This is also my very first time using Blender, so there are a few imperfections here and there, but I'm really happy with the final result.
Materials:
PLA filament
Epoxy(I recommend JB Weld)
E12 LED bulb
24AWG wire
Lamp cord w/ on/off switch
Paint
Tools:
3D printer
Soldering Iron
Sandpaper
Multimeter
Build instructions are in the print instructions. Please consider liking this and/or supporting me by buying me a coffee! Thanks!
Print instructions
Warning!
This project requires you to wire mains voltage. DON'T attempt this project if you are not comfortable handling mains voltage! It can be lethal!
Body and Head
Print the body and head. Use .3mm layer height and tree supports. It is also a good idea to use a brim on the head to prevent warping. Make sure there are no support structures generated in the wire hole in the head, as they will be difficult to remove. I used PLA with 100% fan speed and it came out great. After printing, glue the two parts of the body together. I recommend thick epoxy for this since it can fill in any gaps left from warping.
Tubes and socket
Print the Tubes and the socket with .2mm layer height. No supports are required, but use brims since tall prints can get dislodged easily.
Wiring
Again, don't attempt this if you don't know what you're doing!!
NEVER work on live wires!!!
Solder 24 gauge wires onto both contacts of a E12 led bulb. Make sure that the wires aren't protruding to the side very much and are going directly down the bulb(picture above). Only use led bulbs as other types can overheat the plastic. The wires don't have to be thicker than 24 - 26 AWG as led bulbs draw very little current at mains voltage. But do make sure that the insulation is thick. Insert the bulb into the socket with the wire on the threads going into the grove on the socket. The fit should be tight. Use hot glue if needed. Then guide the wires through tube 2 and then tube 1. Finally, guide a lamp cord with an on/off switch through the rear of the body and out the head and solder to the wires coming out of the tubes, polarity does not matter since it is AC. Insulate the connections with heat shrink tubing. Use a multimeter to make sure they aren't shorted. You can then plug it in to test.
Assembly
First, we need to attach the Tubes and socket together. Slide them together along the wires. Make sure that they are aligned using a flat surface like a table. Use a soldering iron set at a low temperature to melt the ends together. (glue might work, but there isn't much surface area for it to bond to). Then follow up with sand paper.Pull on the lamp cord as you insert the end of tube1 into the hole in the head until the edge of the hole meets the taper on tube1. You might need to file down the ID of the head for it to fit. The fit should be tight enough that no glue is required. Finish by sanding everything down and painting with a color of your choice or just follow the pictures above(mine has a steampunk aesthetic) ....And you're done!🎉
Angler Fish with LED Bulb
by Evan · original on Printables ↗
Art & Design / Other Art & Designs
♥ 308⬇ 889🖨 5 prints
Print profiles
body.stl
⏱ time and weight estimated after preparation · 1 material(s)
Made to order: we prepare this file when you order, which adds a few minutes before printing starts.
Prints on: A1 mini 0.4PLA
Order this print
head.stlDEFAULT
⏱ time and weight estimated after preparation · 1 material(s)
Made to order: we prepare this file when you order, which adds a few minutes before printing starts.
Prints on: A1 mini 0.4PLA
Order this print
tube-2.stl
⏱ time and weight estimated after preparation · 1 material(s)
Made to order: we prepare this file when you order, which adds a few minutes before printing starts.
Prints on: A1 mini 0.4PLA
Order this print
tube-1.stl
⏱ time and weight estimated after preparation · 1 material(s)
Made to order: we prepare this file when you order, which adds a few minutes before printing starts.
Prints on: A1 mini 0.4PLA
Order this print
socket.stl
⏱ time and weight estimated after preparation · 1 material(s)
Made to order: we prepare this file when you order, which adds a few minutes before printing starts.
Prints on: A1 mini 0.4PLA
Order this print
whole.stl
⏱ time and weight estimated after preparation · 1 material(s)
Made to order: we prepare this file when you order, which adds a few minutes before printing starts.
Prints on: A1 mini 0.4PLA
Order this print