Kumihimo, anyone?
Kumihimo is a Japanese braiding technique, which can be made with a Marudai or a Kumihimo Disk, like this one.
I'm making Kumihimo braids for several years now and I tried lots of different disks - but alsways the same problems came to me:
Which direction was I rotating?
What thread is next?
So I ended up to "unbraid" some threads, until I figured it out.
And I thought: There must be an easy way for that.
This is why I decided to create my very own disk.
- Easy to use
- Easy to print
- More fun, less struggle
How does it work?
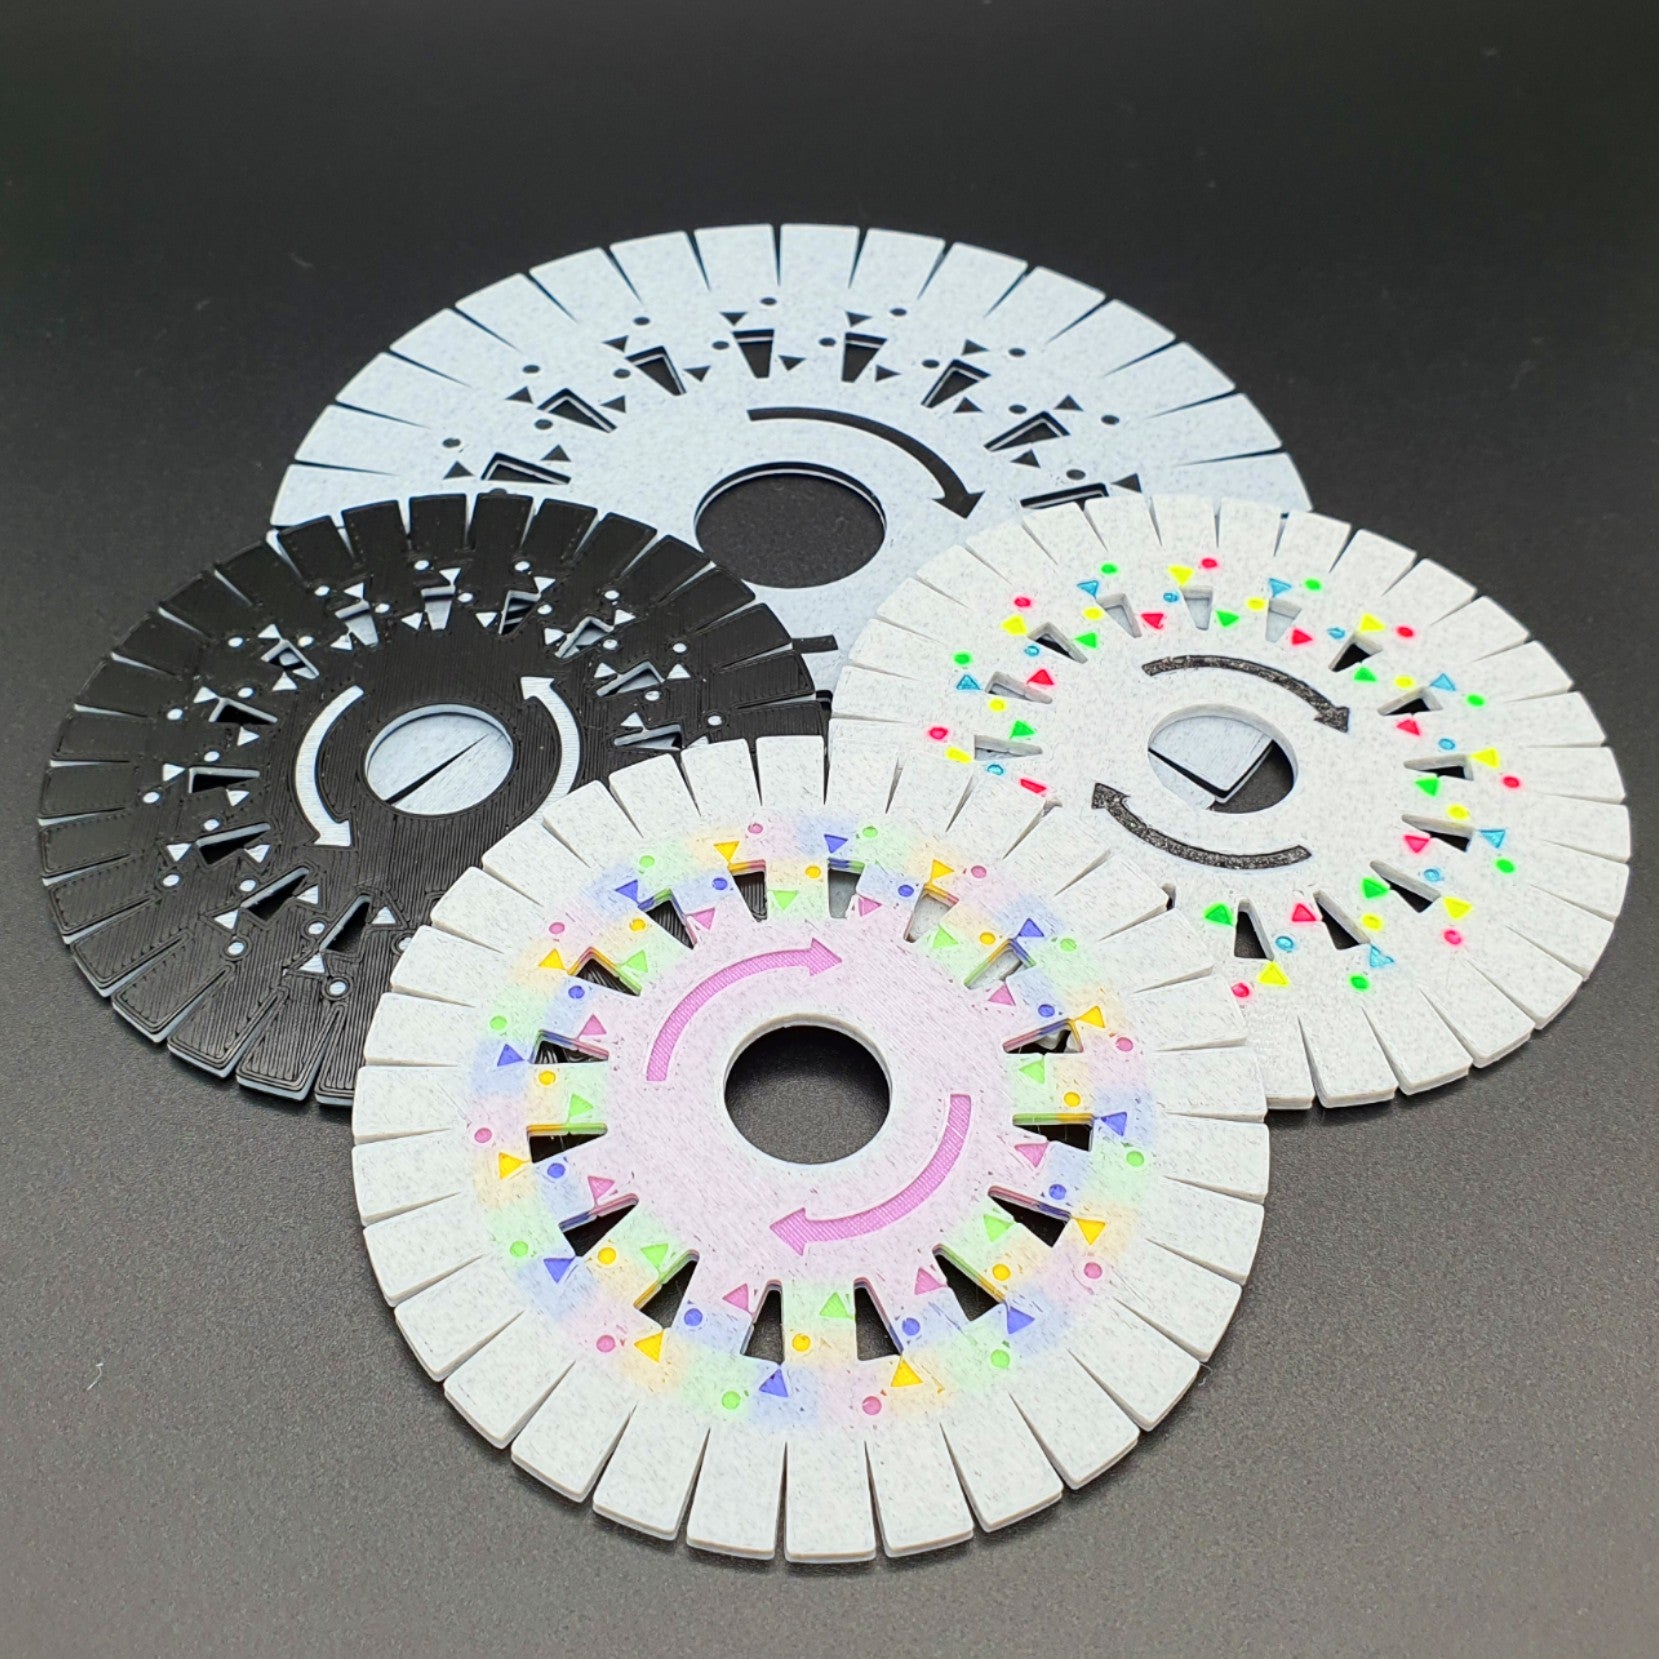
The big arrows in the middle show you the direction of rotation, the little arrows indicate the thread which you have to use next, and the dots show you where to put it. In the MMU/Painted version the dots also have the same color as the arrow for extra easy orientation.
Everything is explained in my beginners tutorial below, which will also teach you Kumihimo in 6 easy steps, if you never tried this before:
There are 3 different versions for you to print:
- A single color small one
- A single color big one
- A MMU2 one (5 STL files for 5 different colors)
They are all quick and easy prints, for further information check out the "Print Settings" section.
Now it's time to print your own and start braiding!
Enjoy!
Print instructions
This print is optimized for 0.2 mm layer height.
Print it with 100% infill for optimal strength.
No raft, supports, brim etc. needed.
If you want to print it with a color swap, change color after 0.4 mm (at 0.60 mm in PrusaSlicer) and again after 1.6 mm (at 1.80 mm in PrusaSlicer)
If you want to print the MMU version with a Palette (4 colors) just print the yellow or the green file in the color of the body (white). This will work as well.
If you want a colored disk, but you don't have a multicolor printer / mmu, just print the single color one in white, and paint the little arrows and dots in the pattern you can find in the pictures, repeating until you are all around.
This way it will look exactly like the MMU version - don't forget to paint both sides. ;-)
If you want to scale it up or down, you can do this in every slicer. But only scale it on the X and Y axis equaly and leave the Z as it is.
Kumihimo Disk - with beginner tutorial!
by DasMia · original on Printables ↗
Hobby & Makers / Other Ideas
♥ 252⬇ 1.0k🖨 11 prints
Print profiles
kumihimo_disk_multi_red.stl
⏱ time and weight estimated after preparation · 1 material(s)
Made to order: we prepare this file when you order, which adds a few minutes before printing starts.
Prints on: A1 mini 0.4PLA
Order this print
kumihimo_disk_multi_body_white.stl
⏱ time and weight estimated after preparation · 1 material(s)
Made to order: we prepare this file when you order, which adds a few minutes before printing starts.
Prints on: A1 mini 0.4PLA
Order this print
kumihimo_disk_multi_blue.stl
⏱ time and weight estimated after preparation · 1 material(s)
Made to order: we prepare this file when you order, which adds a few minutes before printing starts.
Prints on: A1 mini 0.4PLA
Order this print
kumihimo_disk_small.stlDEFAULT
⏱ time and weight estimated after preparation · 1 material(s)
Made to order: we prepare this file when you order, which adds a few minutes before printing starts.
Prints on: A1 mini 0.4PLA
Order this print
kumihimo_disk_big.stl
⏱ time and weight estimated after preparation · 1 material(s)
Made to order: we prepare this file when you order, which adds a few minutes before printing starts.
Prints on: A1 mini 0.4PLA
Order this print
kumihimo_disk_multi_yellow.stl
⏱ time and weight estimated after preparation · 1 material(s)
Made to order: we prepare this file when you order, which adds a few minutes before printing starts.
Prints on: A1 mini 0.4PLA
Order this print
kumihimo_disk_multi_green.stl
⏱ time and weight estimated after preparation · 1 material(s)
Made to order: we prepare this file when you order, which adds a few minutes before printing starts.
Prints on: A1 mini 0.4PLA
Order this print